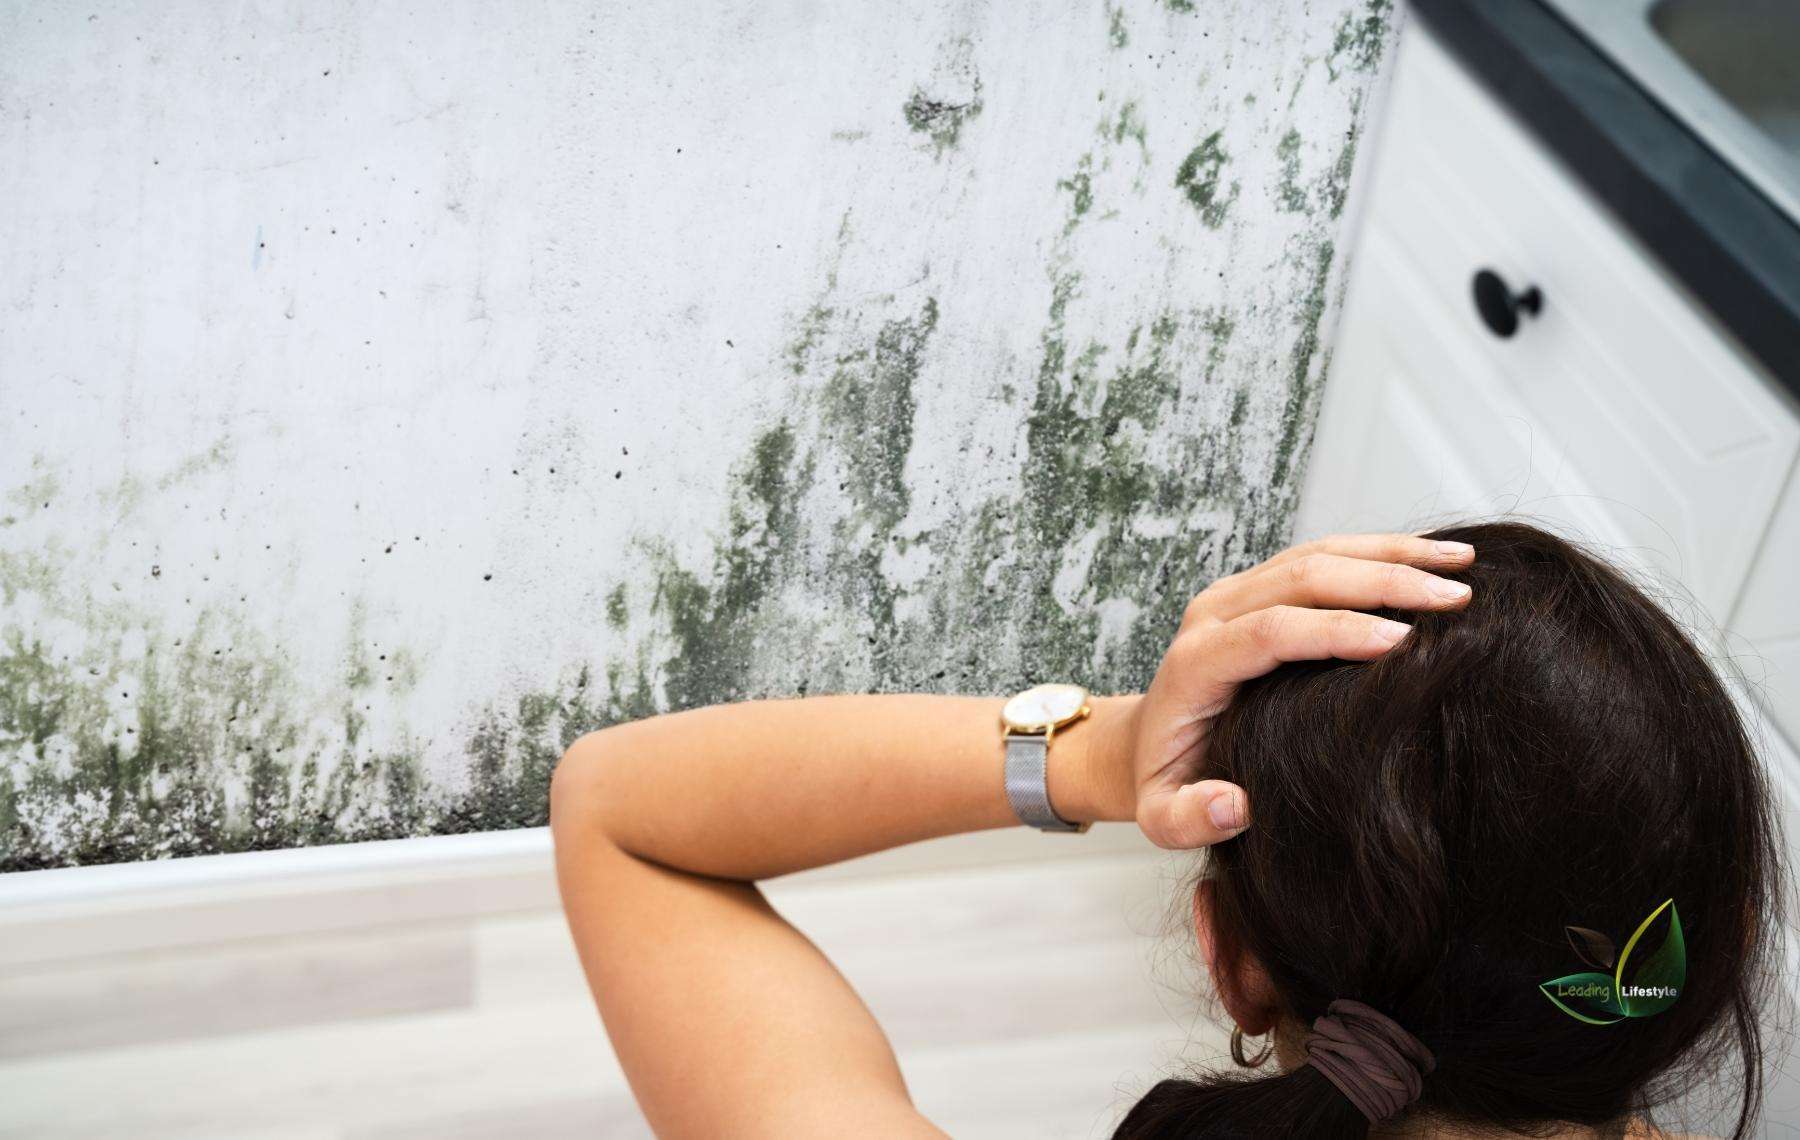
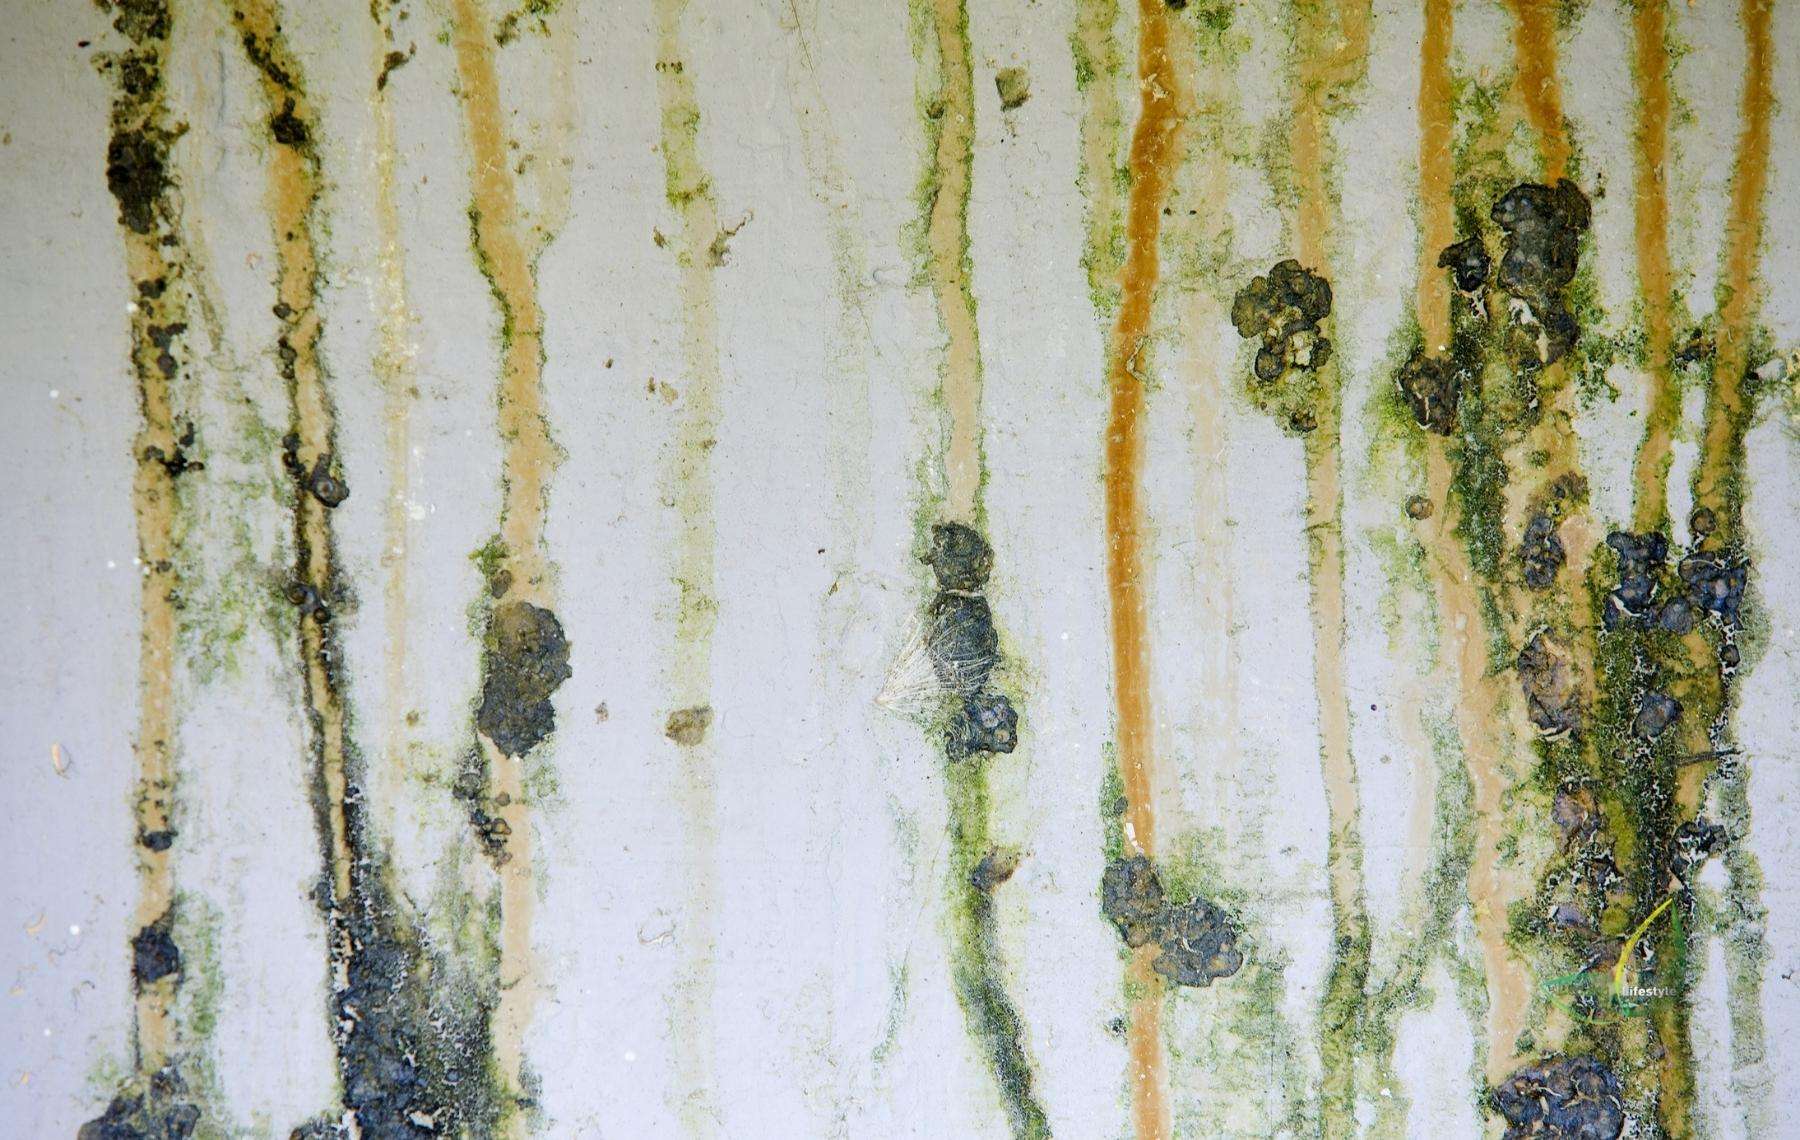
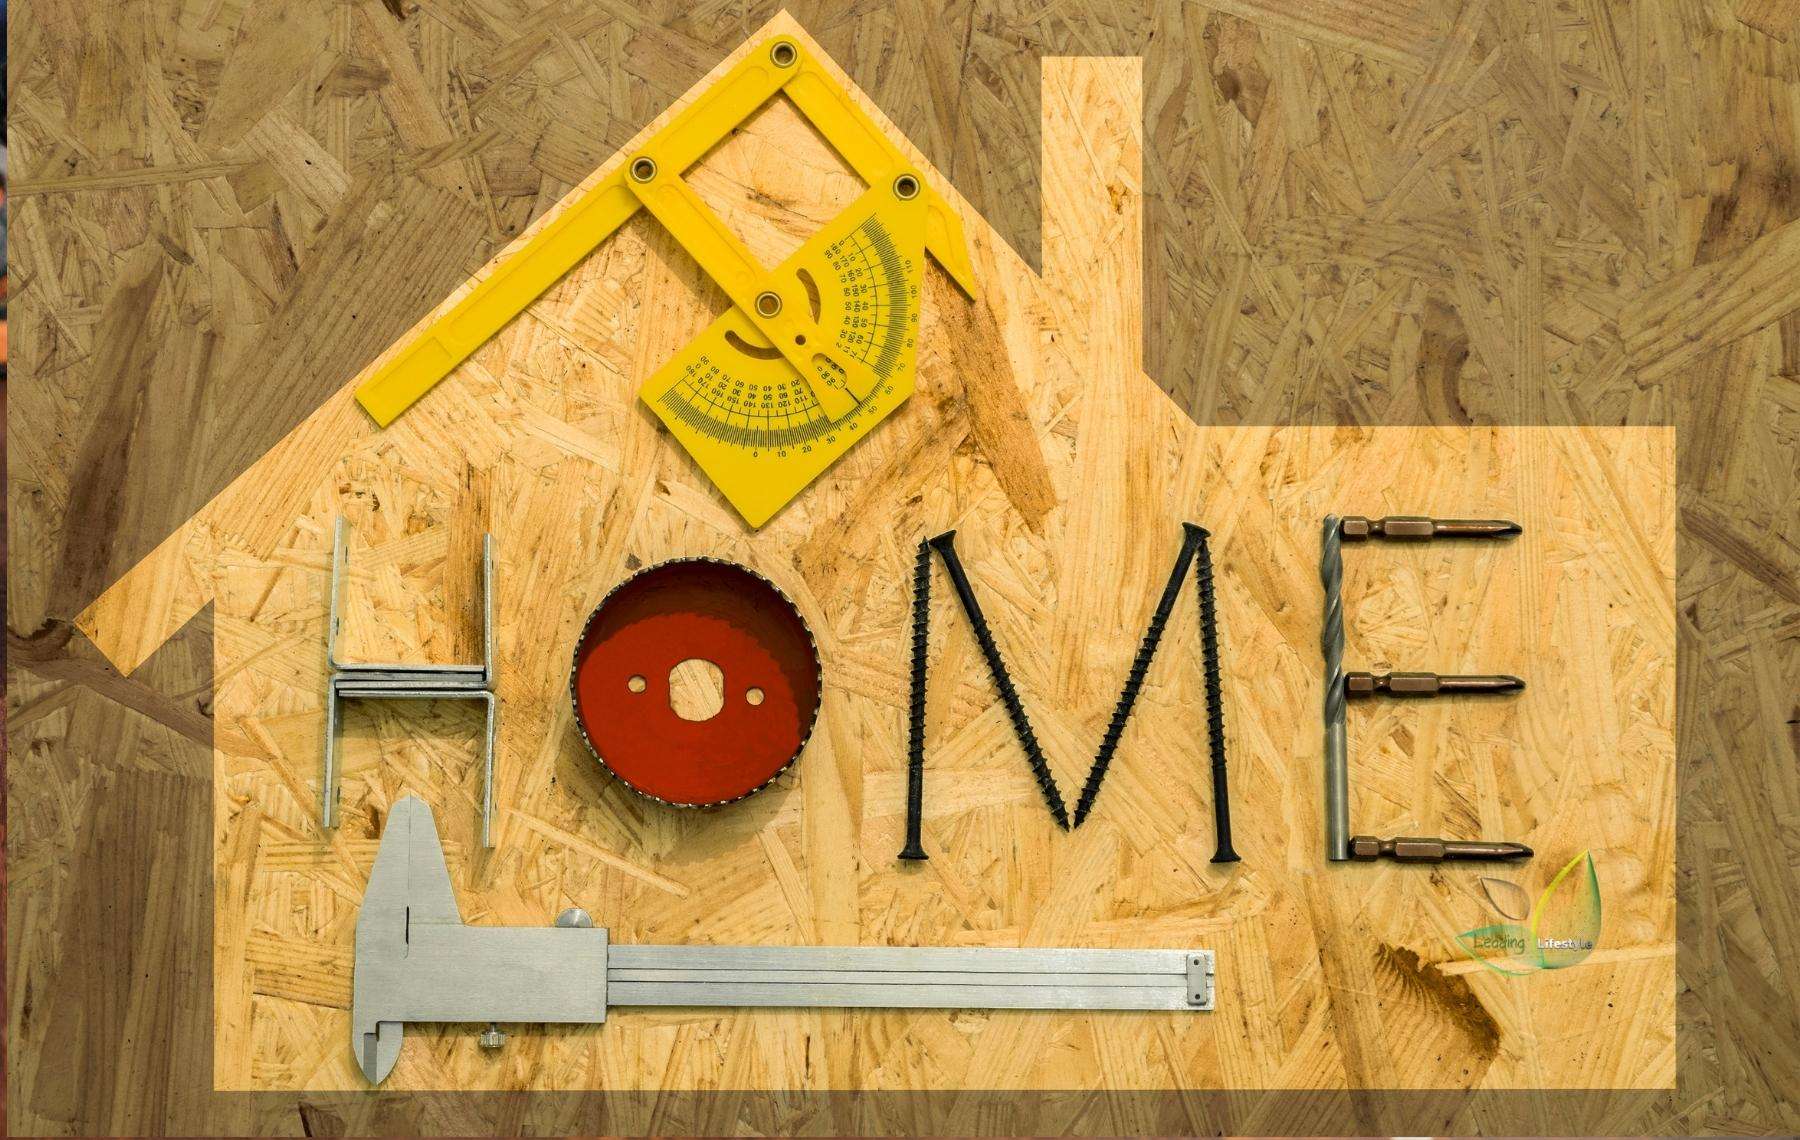
If you want to fix some glitches in your walls, would you tear them down or put panels on them?
Paneling is the easiest and least expensive way to fix a problem with your walls.
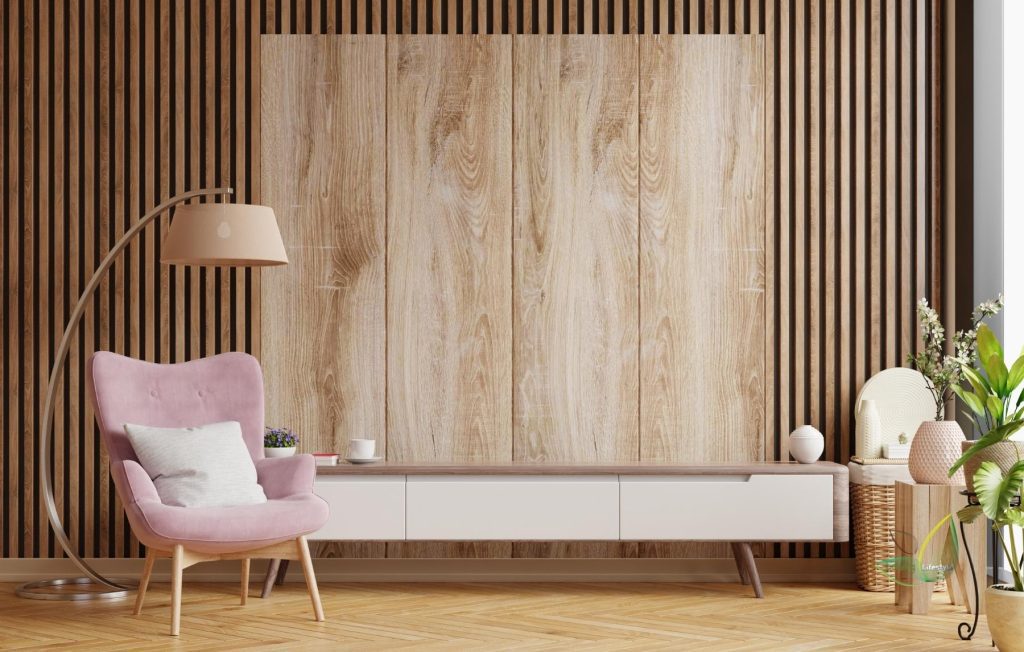
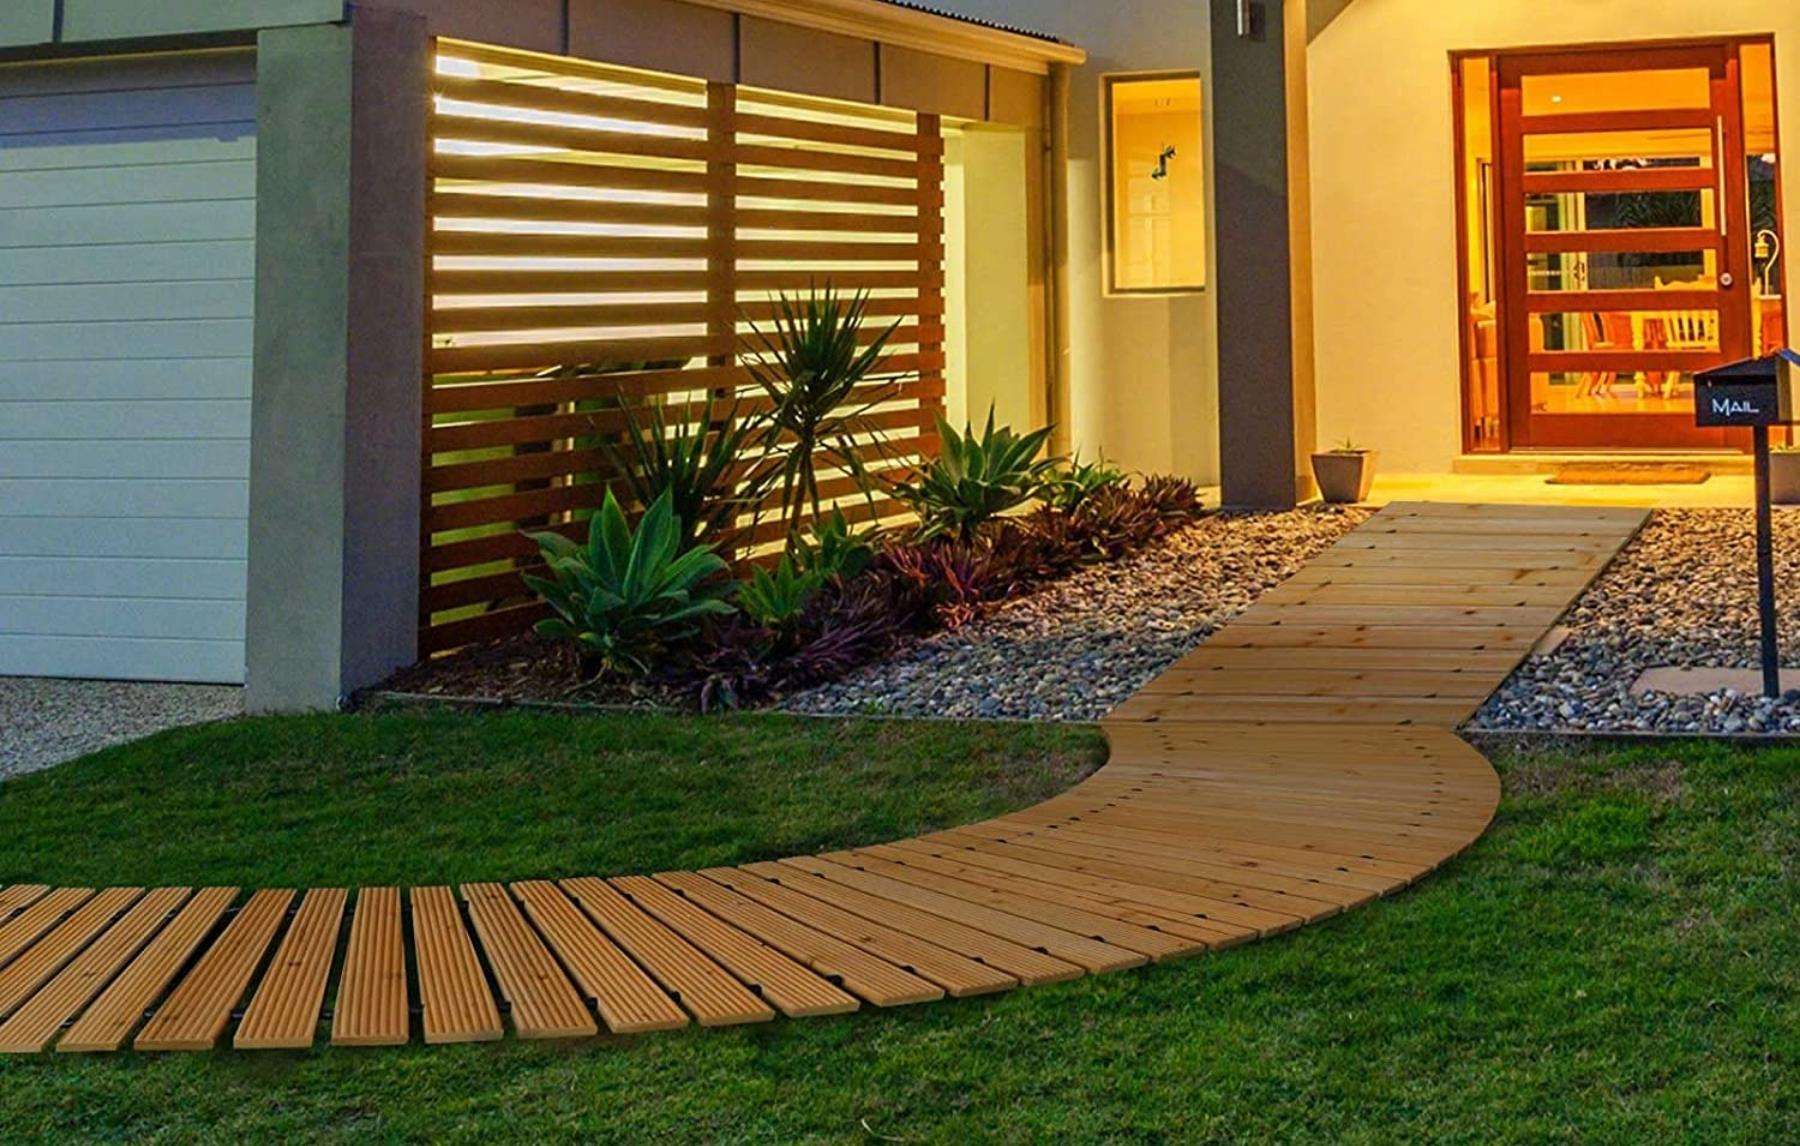
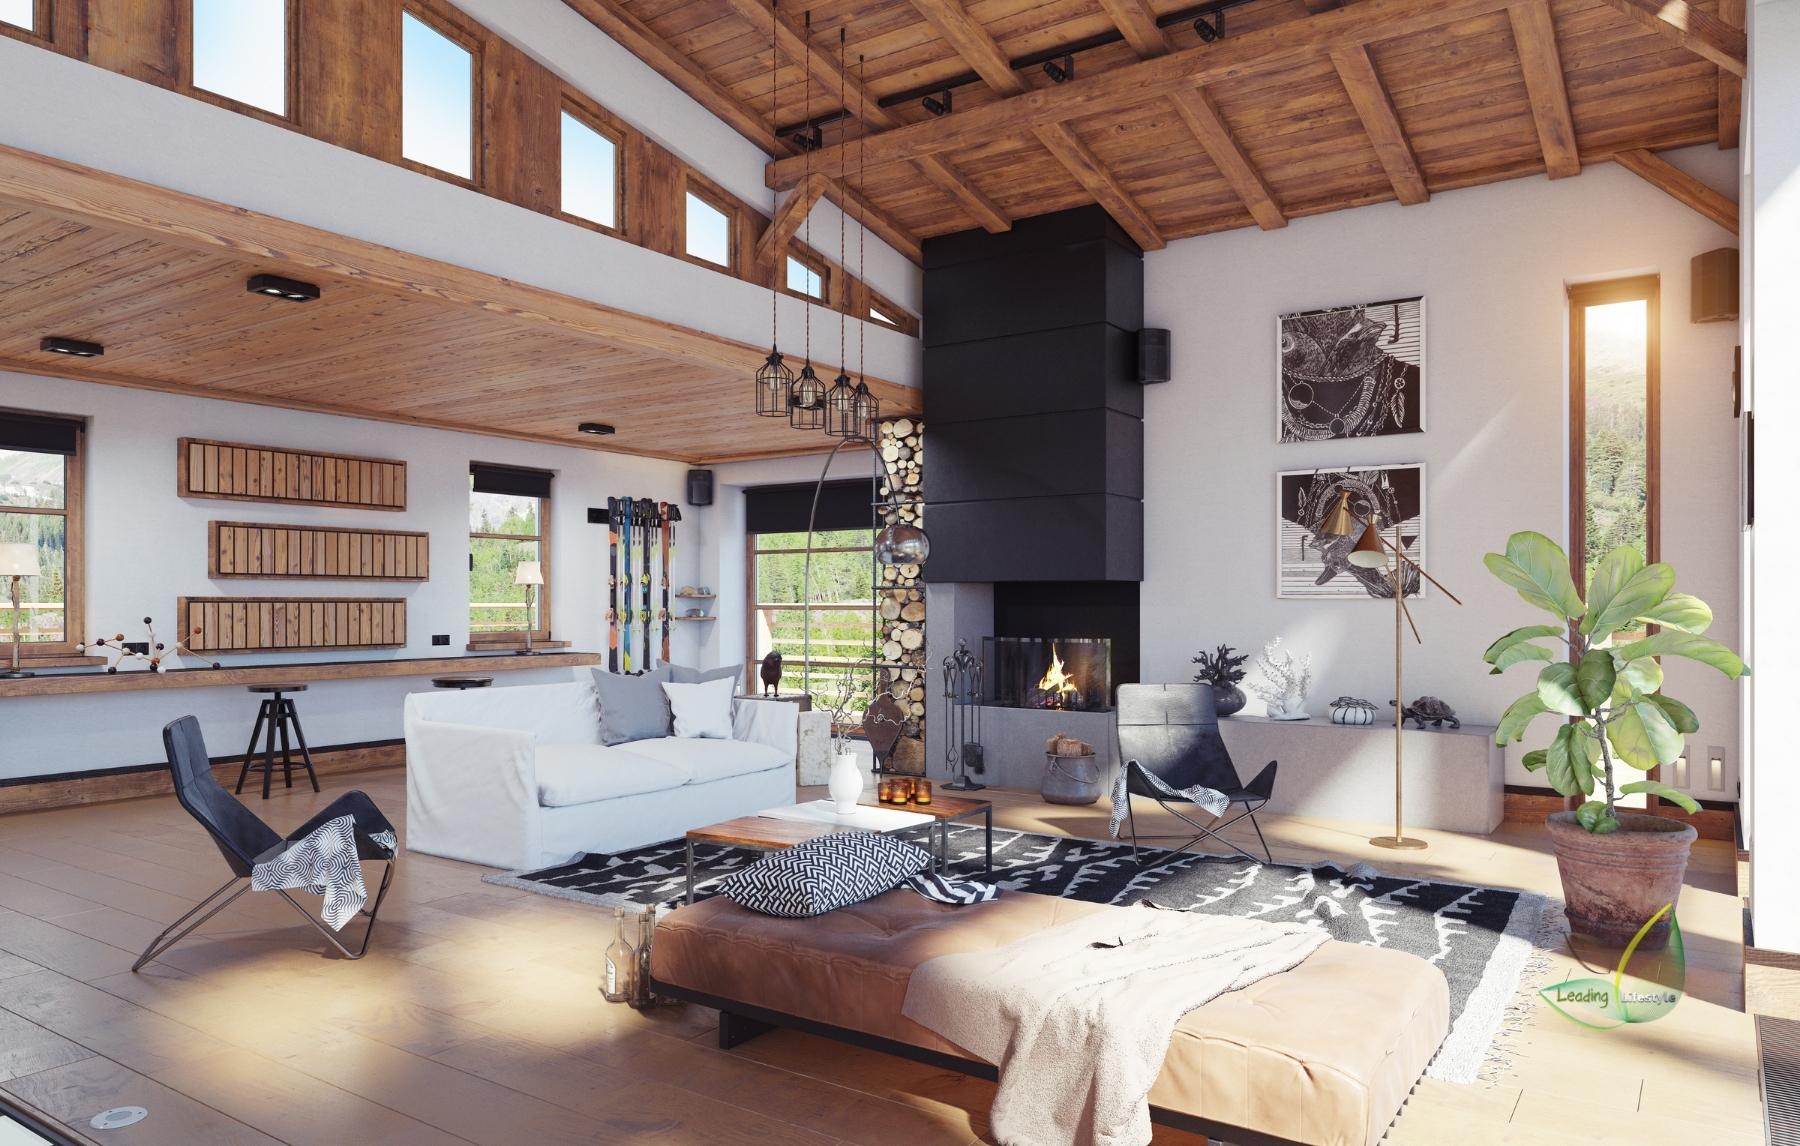
The panels can also be used to protect the wall, make it your own, or decorate it.
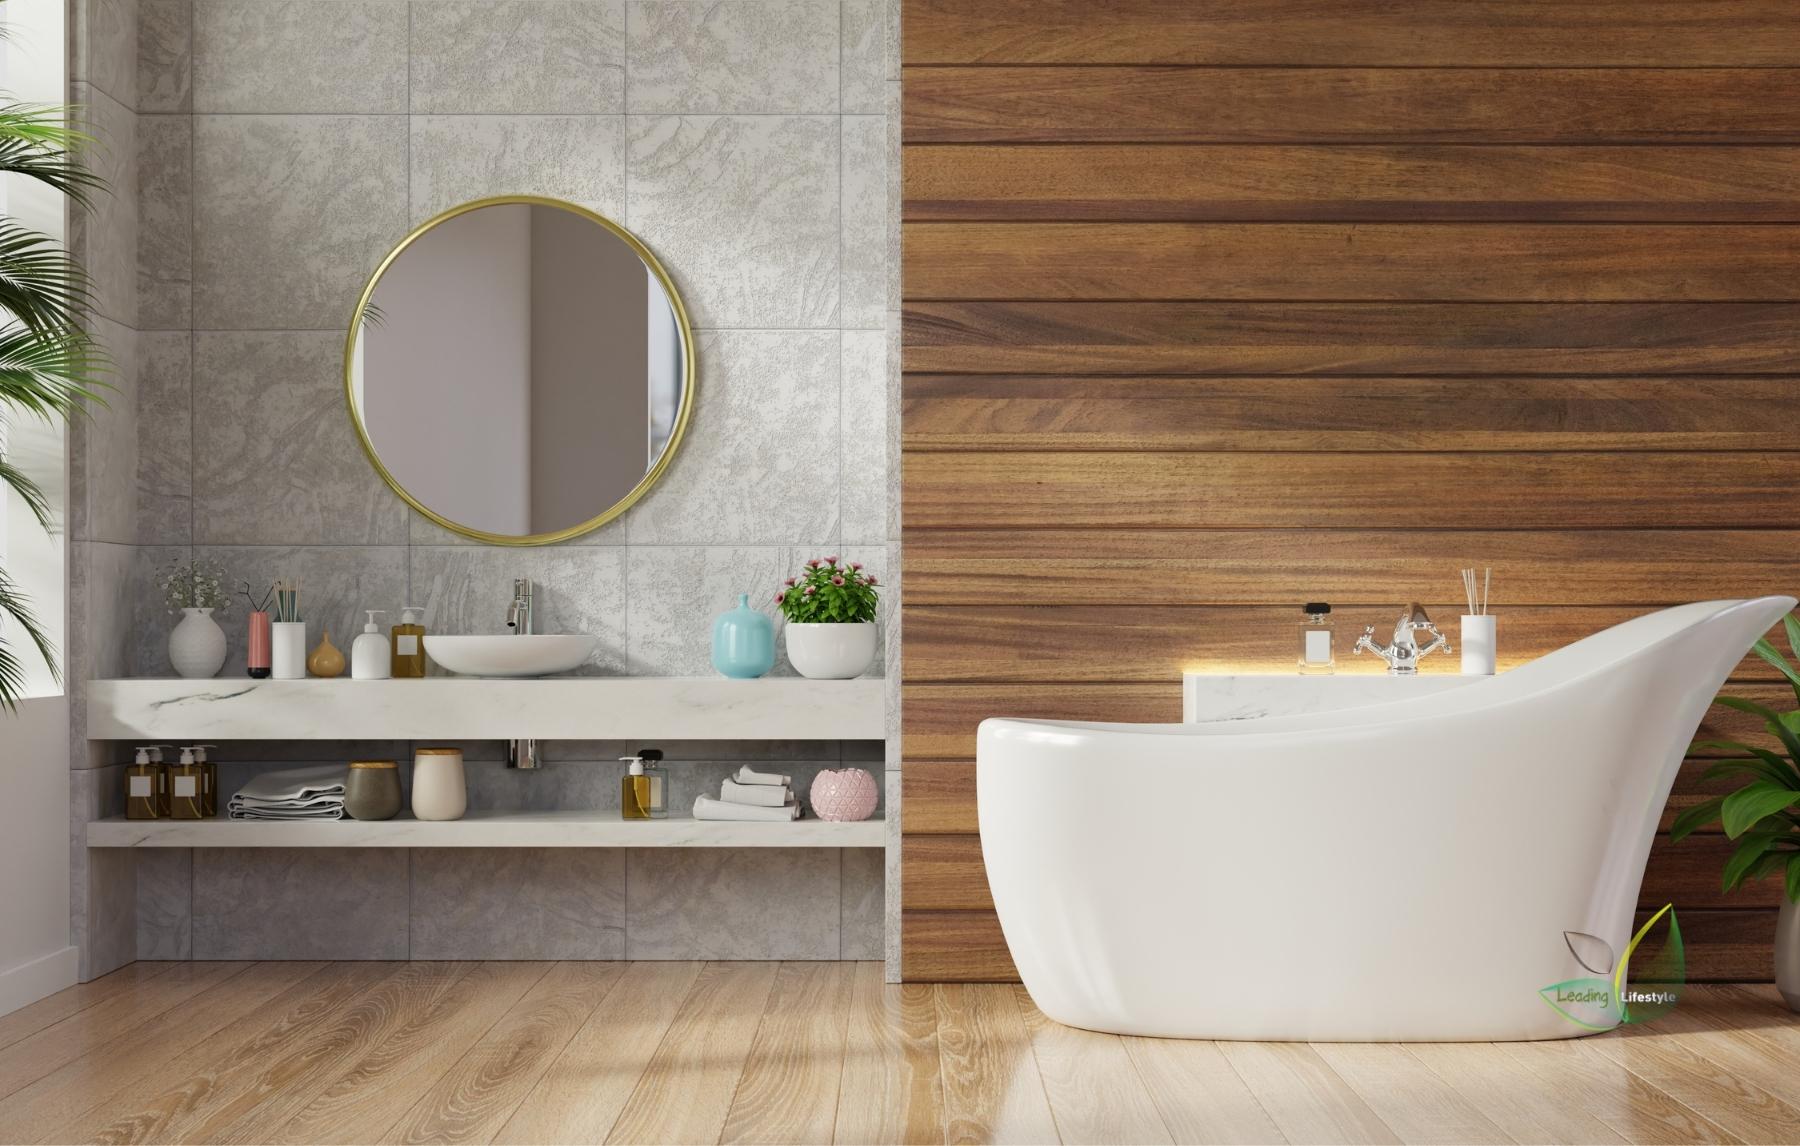
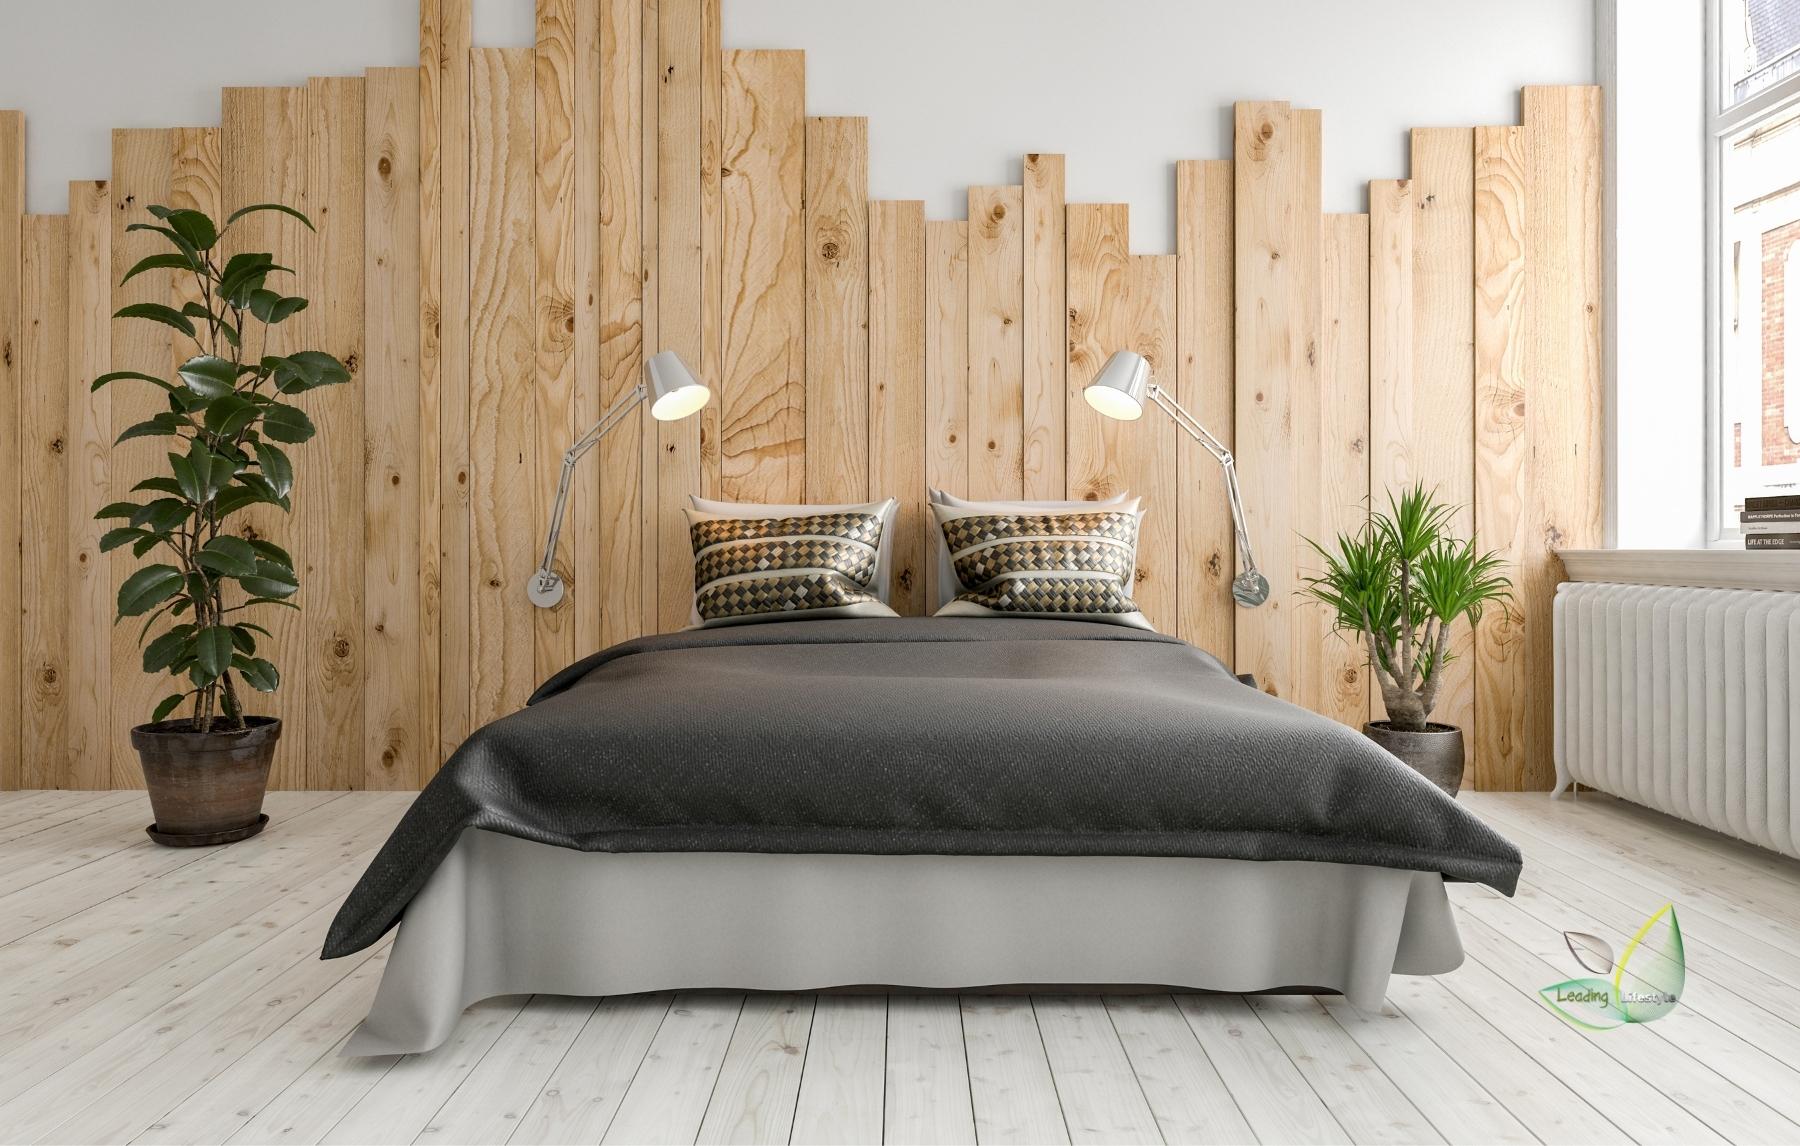
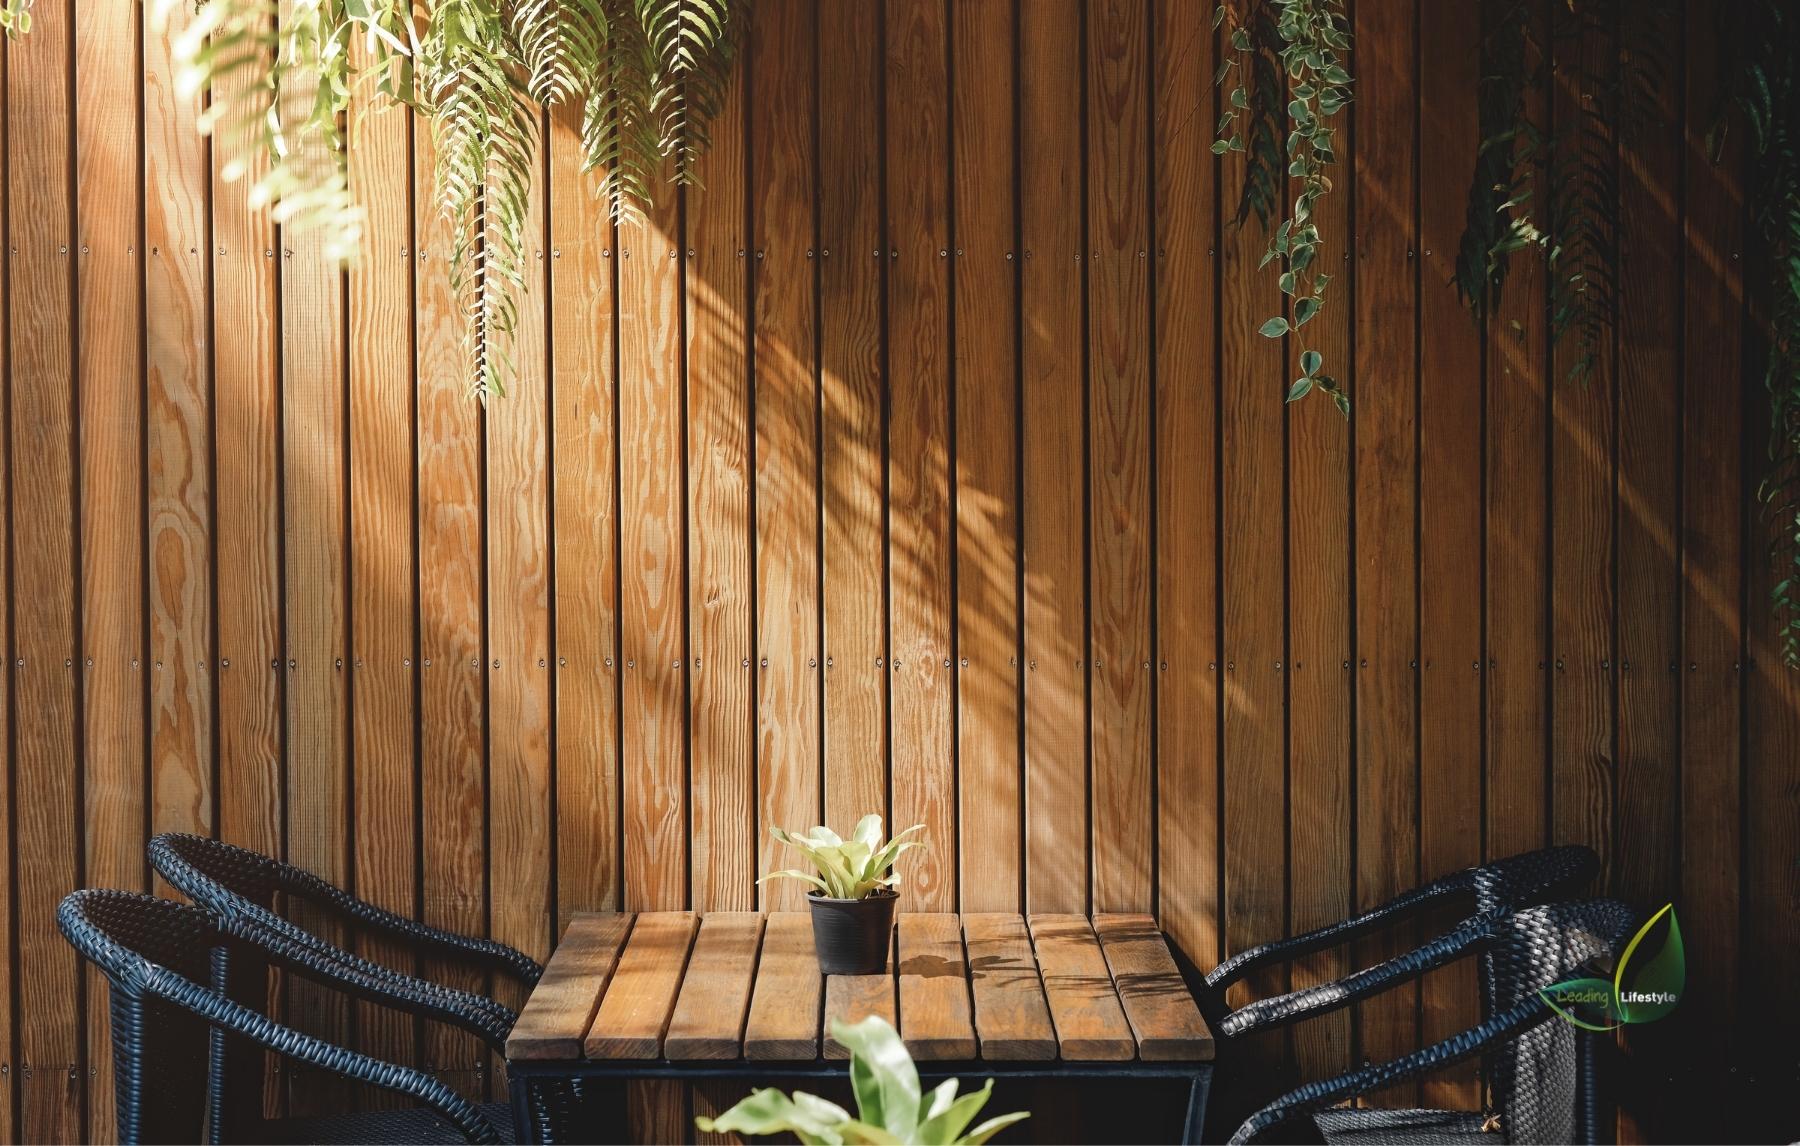
Among other things, you can use MDF panels, natural wood, and PVC. The process for putting these panels up is the same, though.
This article shows you five simple steps to change the look of your space by adding these panels.
Step 1: Planning
First, you’ll need to make a plan for the tools and materials you’ll need for the project.
Multiple methods exist for setting up any given item. So, finding a suitable design for your house is not hard. But if you find it hard to do, it would be best to look for wall paneling designs. You will save time and money by not experimenting to figure out what works.
Once you’ve decided on a design, you’ll need to gather tools like measuring tapes, hammers, glue, and a level. Then, you’ll measure your walls to figure out how many panels you need. Planning will help you figure out how much money you need for the project.
Step 2: Get your wall ready.
After that, you’ll sand your walls to eliminate any dust that could make it hard for the wall panels’ glue to stick. Before you put up your boards, it will be best to ensure that the walls are smooth.
Step 3: Cut the wall boards apart.
In this step, you’ll use the measurements of your wall to cut the panels so that they fit vertically. This step needs a lot of care, so the panels don’t get broken by using the wrong measurements.
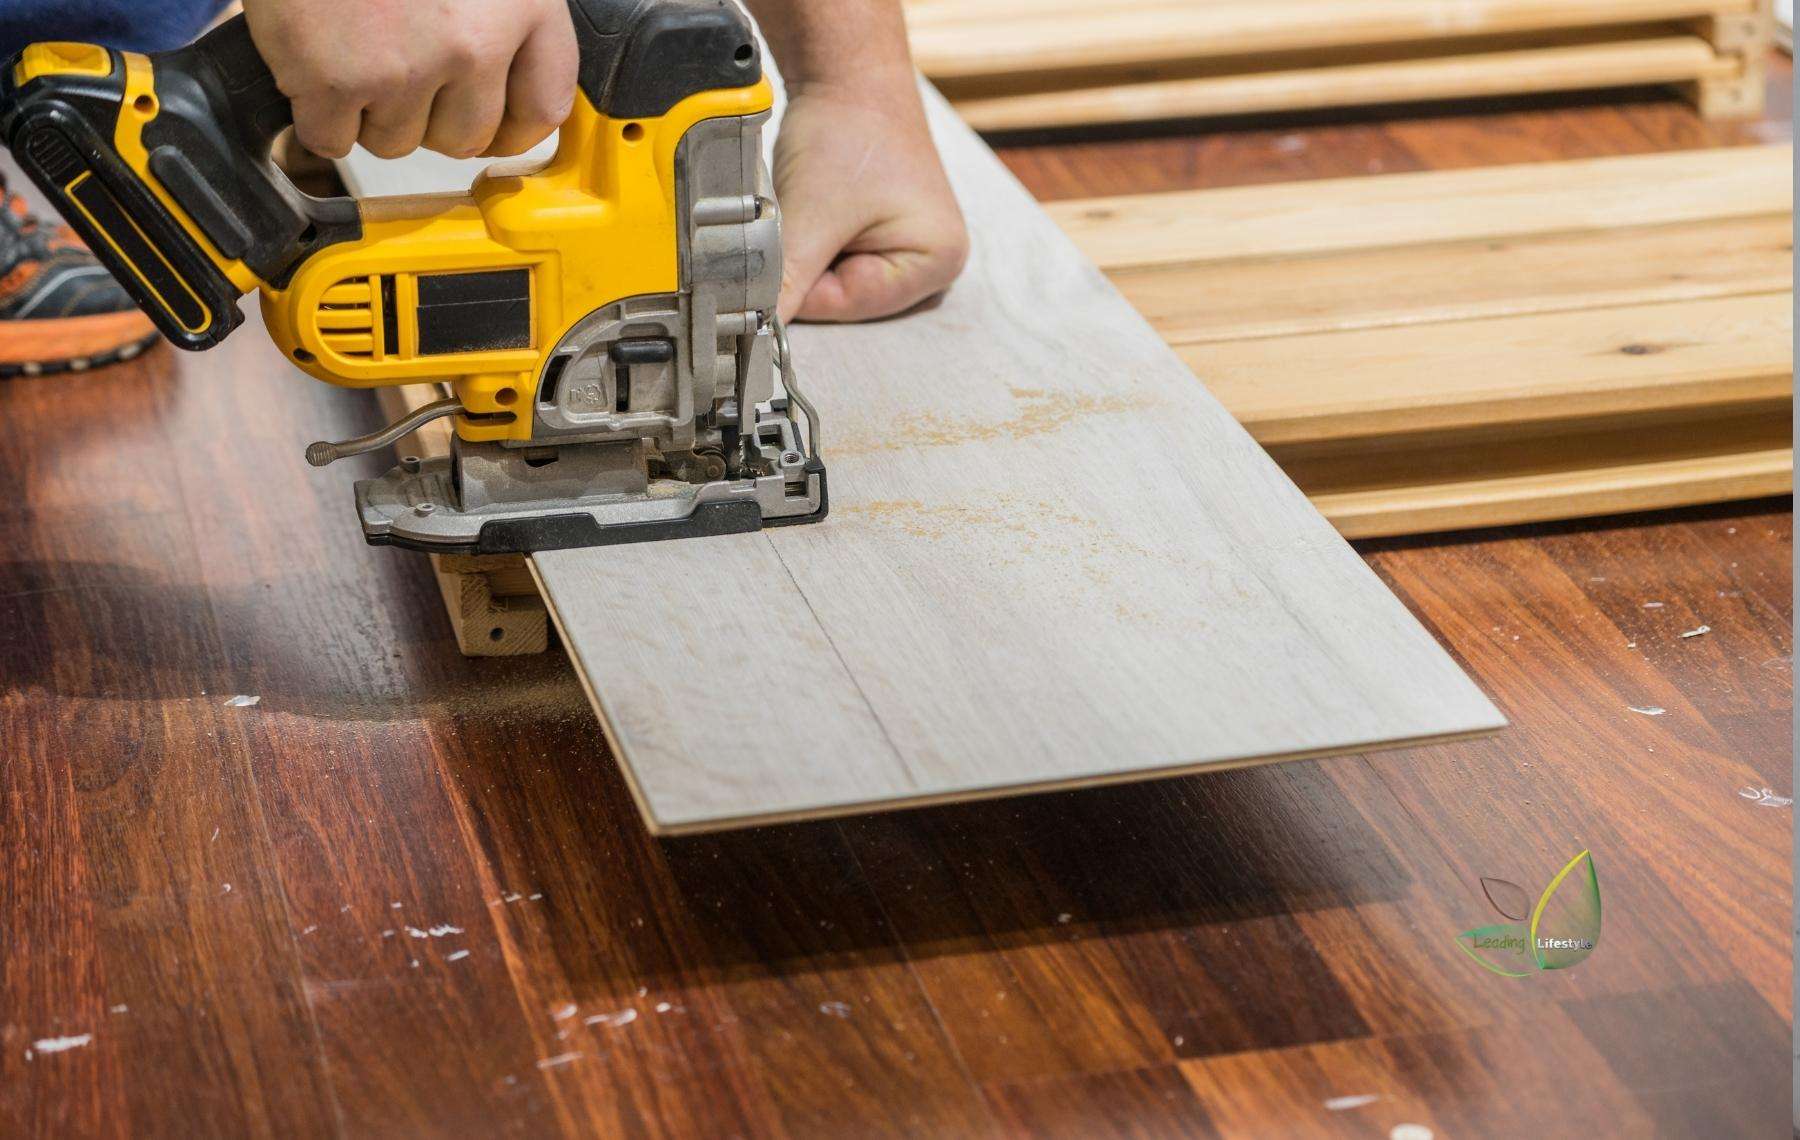
If you don’t know how to cut, it would be best to hire a professional. Note that shortening them will slow down the process and change the result.
Step 4: Put the panels together.
After you’ve done the above, you’ll put a frame on the wall where the panels will be. In each area, you will need two panels, one for the bottom and one for the top.

You’ll need help with this step because you’ll need to mark the wall, put glue on it, and then stick the panel to the wall. But while at it, you must ensure all the panels are lined up.
Repeat this process until you have completed paneling the room.
Step 5: Give it a finish.
After you’ve stuck the panels to the wall, you’ll put the skirting boards at the bottom to protect the area.
After that, you will go over your paneled area and fill in any holes that may have appeared.
You can prime it, wait for it to dry, and then paint the wall panels any color you want. Sometimes, you’ll need to erase your work to make it perfect, but you don’t have to.
Putting up wall panels is probably the easiest way to keep your wall in good shape or protect it. But for excellent work, the whole process needs to be planned and broken down into steps.
Where to buy wooden wall panels
Look online for wall paneling ideas, then use the guidelines you just read to get started.


