What Is the Best Soil for Succulents?

Succulents do best in soil that drains quickly. That single requirement explains most problems people have with slow-growing or dying succulents: wet, compacted soil keeps roots wet long after the plant has finished taking what it needs, and that leads to rot.
In wild settings succulents grow in sandy, gravelly mixes, often in crevices or on rocky slopes. Those places can take heavy rains but the soil dries out fast because the material is coarse and air moves through it easily. For potted succulents the goal is to copy that fast-drying, gritty structure while still giving the plant enough physical support and some nutrients.
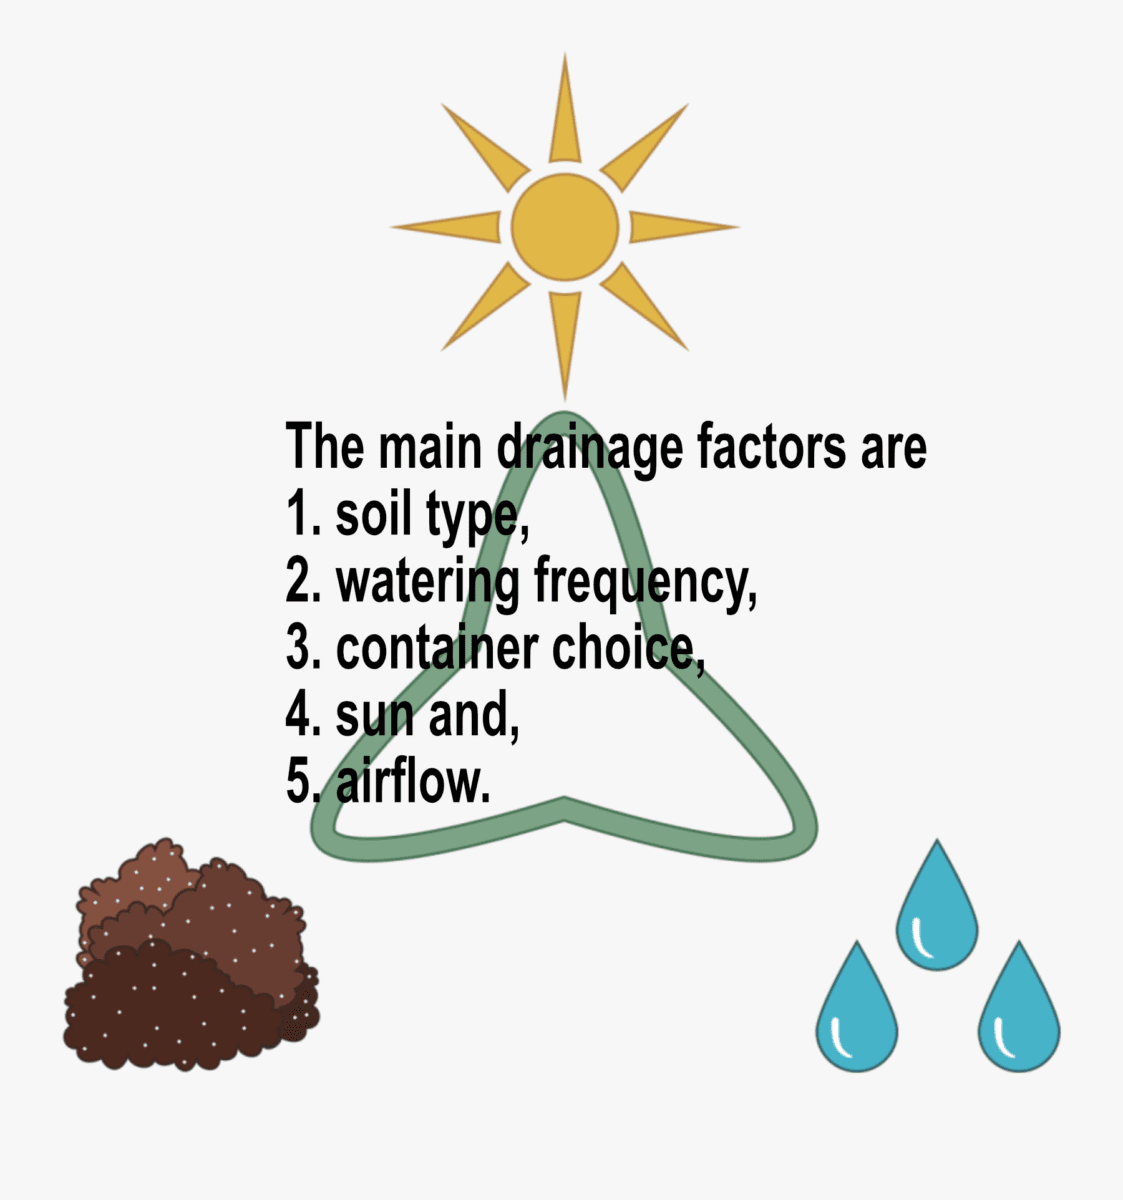
Many factors change how long a mix stays wet: amount of water, sunlight, airflow, and the soil’s physical structure. Indoor pots often have less airflow and so benefit from grittier mixes than outdoor plants in warm, windy spots. Where watering frequency matters, see our guide on how often to water succulents.
Common warning signs to watch for are soft, brown or blackening roots and stems (root or crown rot) or a plant that looks swollen and then collapses; those usually point to too much moisture in the potting medium.
Why drainage matters, in more detail
- Roots need oxygen. When soil pores are filled with water, roots suffocate and become vulnerable to pathogens. Fast-draining mixes keep air and water in balance.
- Succulents store water in leaves or stems and are adapted to intermittent moisture, not constant wetness. A gritty potting medium lets occasional water pass through without leaving the root zone saturated.
- Over time, some organic materials break down and reduce pore space. A mix that includes stable inorganic components (perlite, pumice, sand, grit) preserves drainage longer.
How soil texture affects care
- Fine-textured soils (high in peat, fine vermiculite or clay) hold water longer and are only suitable where you can guarantee excellent airflow and cautious watering.
- Coarse-grained mixes dry quickly and reduce the margin for error with watering. They also lessen pest problems that thrive in consistently damp conditions.
- The right texture reduces the need for “emergency” measures like repotting for root rot; it makes healthy growth more likely from the start.
Practical considerations by growing situation
- Indoor growers with low ventilation: choose a grittier mix and use pots with better airflow to the sides if possible.
- Outdoor growers in wet climates: use a blend that drains extremely fast and consider raised containers or extra drainage holes.
- Growers who water frequently or forget sometimes: err on the side of grittier mix and larger drainage pores.
A brief note about fertilization
- Because gritty mixes contain less organic matter, they hold fewer nutrients. Feed lightly during the growing season with a balanced, diluted fertilizer, following the product directions. Avoid heavy feeding that encourages rapid, tender growth susceptible to water stress.
Potting Soil vs. Succulent and Cactus Soil
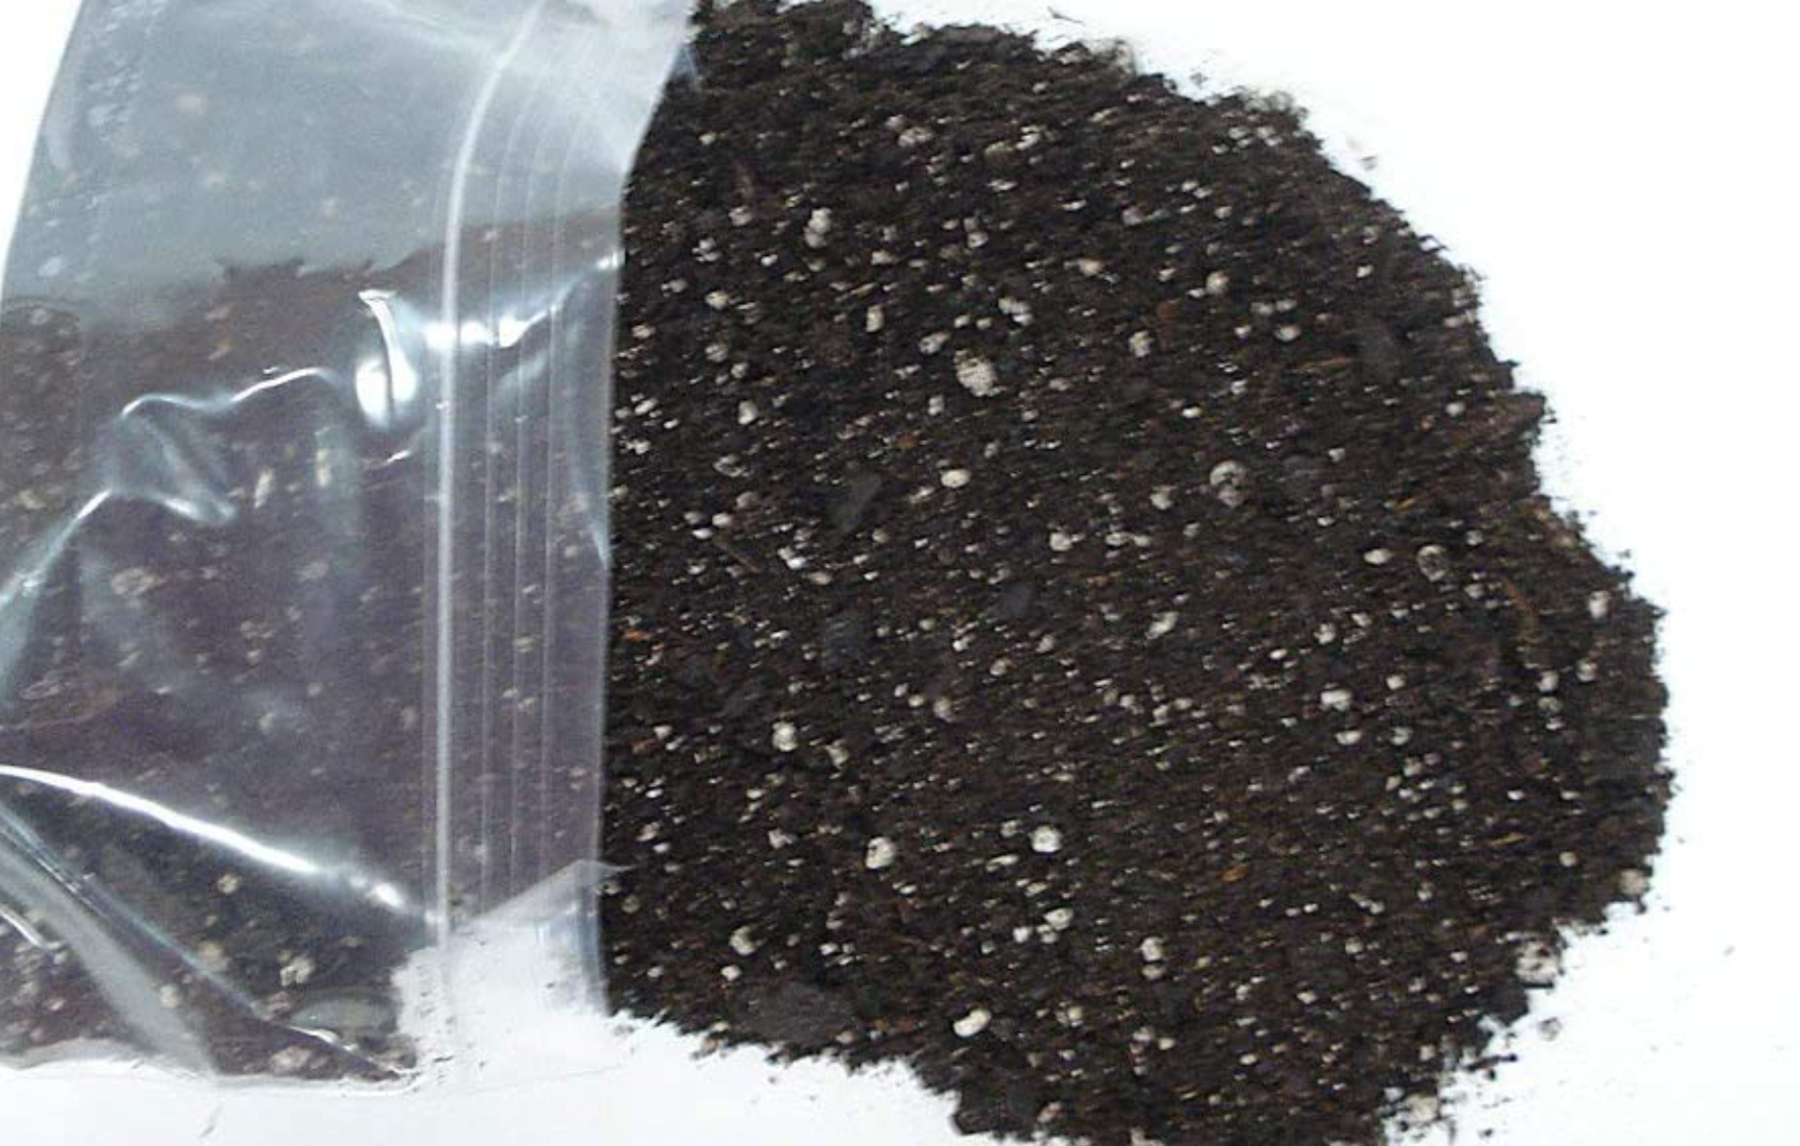
The main difference is drainage. Regular potting soil is formulated to retain moisture and to feed a wide range of houseplants; it often lists “forest products” (composted bark or similar), peat moss or coir, and sometimes vermiculite. Those ingredients hold water and can compact in pots.
Cactus or succulent mixes are coarser by design. They usually include more sand, crushed gravel, pumice or perlite and less of the moisture-retaining components. That reduces the amount of water held near roots and increases aeration.
A store-bought cactus mix is a useful starting point for potted succulents, but many such mixes are still wetter than ideal for some growers. It’s common to buy a commercial cactus soil and amend it further with perlite, pumice, or sand to increase drainage and reduce moisture retention. Avoid potting mixes labeled as “moisture control” or those with vermiculite if you want a fast-draining succulent medium.
Two practical notes:
- Sand by itself can settle and compact over time in pots; for potted plants, perlite or pumice generally improves drainage more reliably.
- Charcoal is optional: it won’t change drainage much but can help keep the medium fresher and reduce odors in long-stored mixes.
Reading ingredient lists
- Look at the order of ingredients on the bag. The first listed items are the largest fraction by volume. If you see peat, coir, or compost high on that list, expect a more moisture-retentive mix.
- If perlite, pumice, sand or crushed gravel feature prominently, the mix will be coarser and dryer.
- Some manufacturers include slow-release fertilizers; that can be convenient but may not suit all succulents. If you prefer full control, choose a plain mix and fertilize yourself.
When a store-bought mix needs adjusting
- If your chosen cactus mix still seems fine-textured, add perlite or pumice (10-30% by volume) until it feels gritty. The goal is a homogeneous texture with visible coarse particles.
- Test how fast a pot drains with a full watering: if water pools on the surface or takes hours to exit the drainage hole, increase the coarse components.
Why not use garden soil
- Garden soil is typically too dense and contains fine silt and clay that compact and retain water. It also carries weed seeds, pathogens, and varies widely. For container succulents use a sterilized potting base instead.
The Ideal Succulent Soil Mix
For potted succulents the ideal soil is a balance between a lightweight base that holds some nutrients and coarse components that create large pore spaces so water can drain and air can circulate. The elements that matter most are:
- A porous base potting soil (soft, sterile, not garden soil).
- Coarse sand (or turf/poultry grit) to add grit and weight.
- A coarse aggregate such as perlite or pumice to prevent compaction and retain minimal moisture.
- Optional activated charcoal for freshness and to help prevent root odors.
Why these components work:
- Potting soil supplies organic matter and some nutrients but also holds moisture, so it needs to be cut with coarse material.
- Coarse sand increases bulk drainage and mimics gritty native soils, but in pots sand can pack down; mix it with perlite/pumice.
- Perlite and pumice are lightweight, keep the mix loose, and create air space around roots. They retain very little water themselves and help the whole mix dry faster.
If you prefer a ready-made base, cactus soil is fine; just check the bag and be ready to add extra perlite/pumice or sand if the mix looks fine-textured rather than gritty. Keep the well-draining principle in mind: better to err on the grittier side for indoor pots where airflow is limited.
Particle size and why it matters
- Aim for coarse particles around 3-6 mm for the gritty components. That size helps water move through the mix without filling all the pores and depriving roots of oxygen.
- Very large particles will improve drainage but reduce water-holding capacity; find a middle ground so the plant still has some moisture between waterings.
- Uniformity helps avoid layering issues where water flows preferentially through one layer leaving another damp. Mix components thoroughly.
Charcoal: optional but useful
- A small amount of horticultural charcoal helps keep used mix smelling fresher and can trap certain impurities, but it does not affect drainage significantly. Use it if you store mix for long periods or repot often.
Things to avoid
- Moisture-control additives and moisture-retaining gels. They work against the succulent’s need for fast drying.
- Heavy clay or fine garden loam in pots.
- Very fine sand or dusty sand that will compact.
Practical test for drain behavior
- Fill a pot with your chosen mix and pour one full watering through. Observe surface behavior and note how long water takes to exit the drainage hole and how long the surface takes to feel dry to the touch. Adjust mix if it stays wet too long: add more perlite/pumice or sand.
How to Make Your Own Succulent Soil at Home
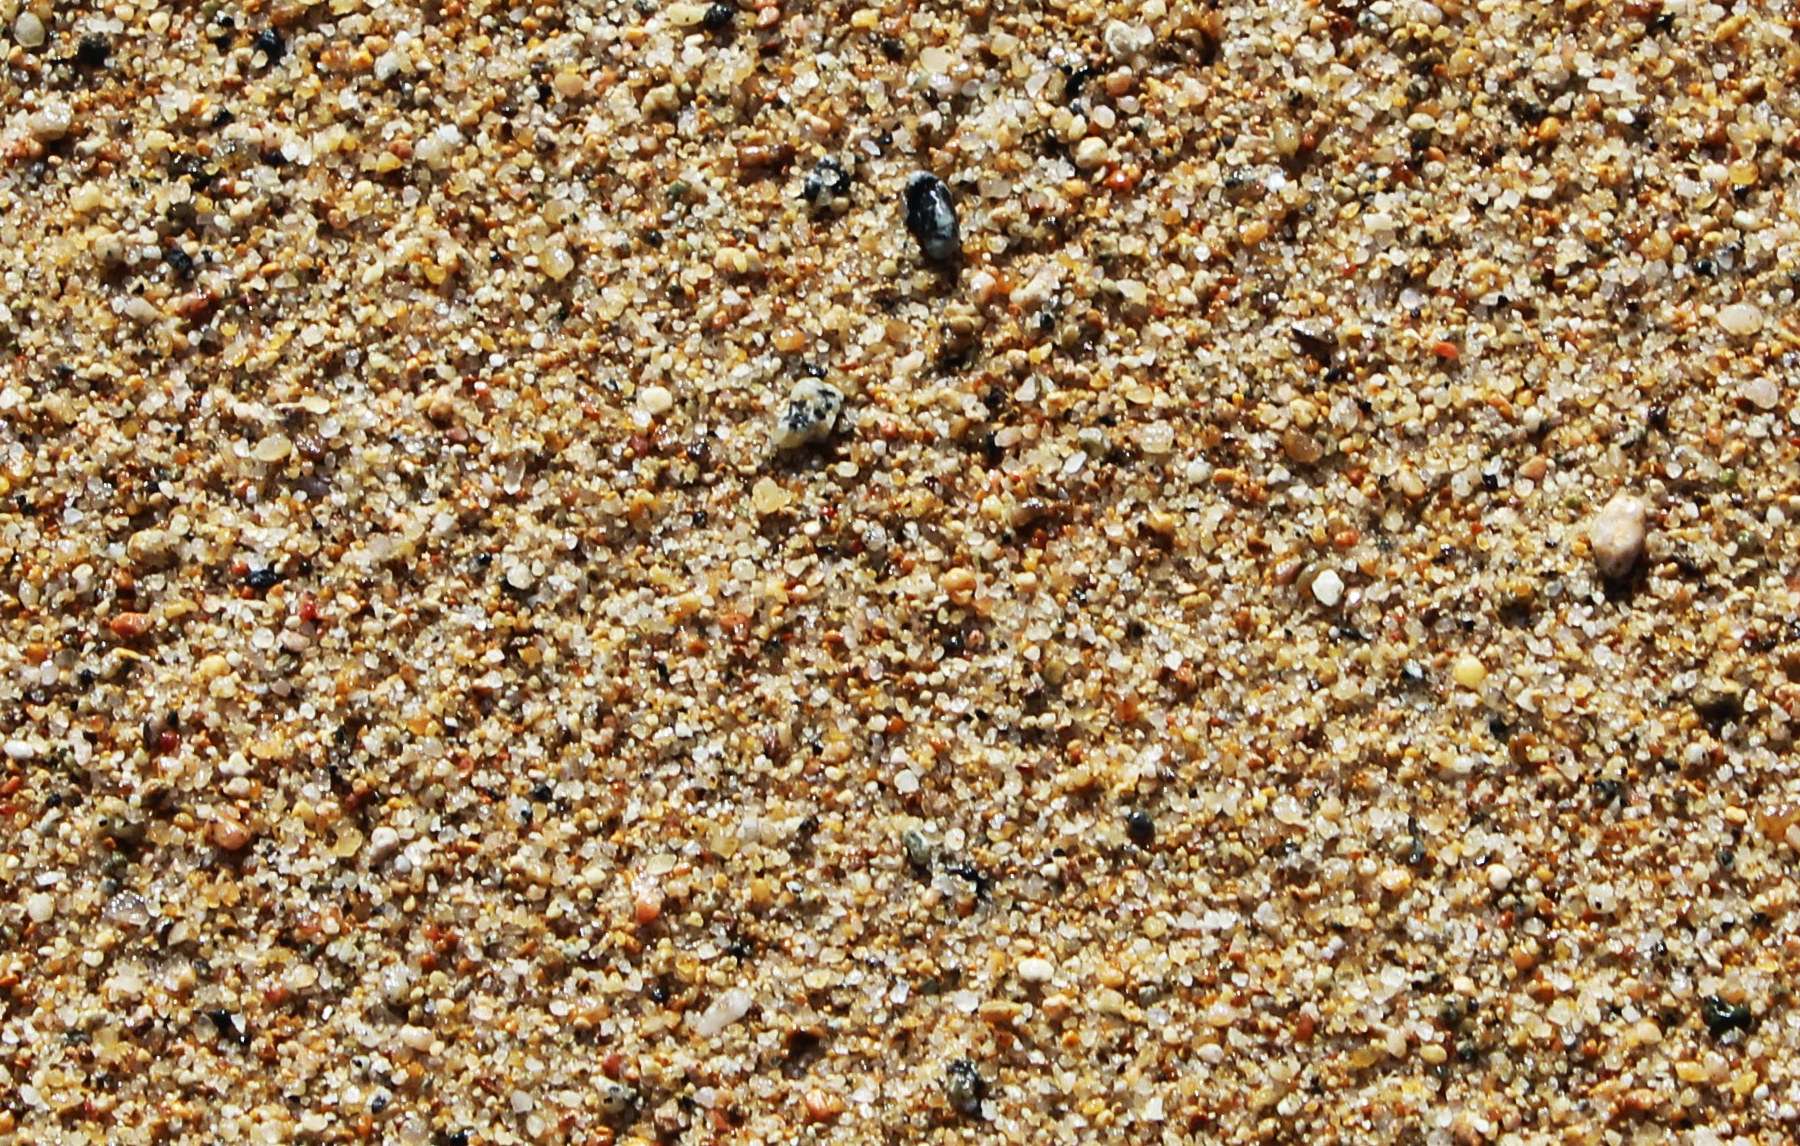
You can make an effective succulent soil with three common ingredients. The recipe below keeps the same ideas the original discussed: a base potting soil cut with gritty materials to shorten drying time. Two formats are described: the straightforward 2:1 idea the original mentioned and the specific 3:2:1 recipe used in the DIY section. We present the 3:2:1 recipe as the main DIY because it balances water retention and drainage for most indoor succulents, and note how to adjust toward the 2:1 approach for even grittier blends.
What You Need
- Potting soil (all-purpose, fresh, sterile; not garden soil and not moisture-control formulas)
- Coarse sand (avoid beach or playground sand; turf or poultry grit are alternatives)
- Perlite or pumice
- Measure container (cup, scoop or similar), trowel, and a mixing container (bucket or large bin)
DIY recipe (recommended)
- 3 parts potting soil
- 2 parts coarse sand (turface or poultry grit may be substituted)
- 1 part perlite or pumice
How "part" works
- Use the same container for every “part.” For example, with a 1-cup measure: 3 cups potting soil, 2 cups sand, 1 cup perlite.
If you want a much grittier cactus-style blend (the 2:1 idea mentioned in the original), increase the sand and perlite/pumice relative to the potting soil–for instance, drop the potting soil portion and aim for roughly equal parts sand and perlite with a smaller amount of potting medium. The 3:2:1 recipe is easier to start with for a wide range of succulents; adjust from there based on how quickly your pots dry in your conditions.
Detailed step-by-step
1. Prepare your workspace. Use a clean bucket or bin and wear gloves if you prefer. A light dust mask is useful with dry sand or perlite. 2. Break up the potting soil to remove clumps and make measurement consistent. 3. Measure 3 “parts” of potting soil into the mixing container. 4. Add 2 “parts” coarse sand and 1 “part” perlite or pumice. 5. Mix thoroughly until the texture looks even and you see grit distributed throughout. 6. Test the mix by filling a small pot and watering through. Observe drainage and surface drying over a day or two; adjust if necessary.
How to adjust based on results
- If surface stays wet for more than a day in indoor light/temperatures, add more perlite or pumice (increase by 10-20%).
- If the pot dries within a day and the plant shows signs of stress (wrinkled leaves that don’t plump after watering), add a touch more potting soil to increase water-holding capacity.
- For larger containers, increase the proportion of coarse aggregate slightly; large volumes dry more slowly.
Perlite vs. pumice
- Perlite is lightweight and inexpensive; it helps keep mixes airy. It can float in water briefly when first wet but settles after a shake.
- Pumice is denser and holds slightly more moisture than perlite but resists compaction better over time. Both work; choose what you can source easily.
Coarse sand guidance
- Coarse builder’s sand, turface, or poultry grit are safer than fine play sand. Finer sands can compact and reduce aeration.
- Avoid sand from beaches or playgrounds because of contaminants and salts.
Charcoal: optional
- If you choose to add charcoal, mix a small fraction (a few percent by volume). It won’t change drainage but can help keep repotted soil fresher.
Mixing for specific species
- Species with thicker leaves and higher water storage (some Echeveria, Agave juveniles, many Haworthia) tend to tolerate blends with slightly more potting soil. Still keep substantial grit.
- Thin-leaved or shallow-rooted succulents often do best in grittier blends with higher perlite/pumice content.
- Cacti that prefer very fast drying: reduce the potting soil portion and increase grit and perlite/pumice.
Practical tips while repotting
- Choose a pot with drainage holes. A bigger pot is not always better; larger soil volumes hold more water and dry slower.
- Use a coarse top dressing (small gravel) if you want to reduce surface splashing, help with evaporation, or improve appearance. Top dressing doesn’t replace a gritty medium underneath.
- After repotting, allow newly disturbed roots a few days to rest before watering, especially if you trimmed any rotted roots.
What to watch for after repotting
- Water thoroughly just once to settle the soil, then let the pot dry before the next watering. Watch for improved vigor but also for stomatal changes: leaves that go soft may still be overwatered.
- If rot appears at the base not long after repotting, check the mix and drainage hole for blockages and consider repotting into a grittier blend.
Supply Needed for mixing
- Measure container
- Trowel
- Container for blending
(Those are the basic items; you do not need fancy gear. A clean 5-gallon bucket, a garden trowel, and a 1-cup measure are enough to mix a usable batch.)
Storing Leftover Mix
Store homemade mix in an airtight container to keep it clean and dry. A plastic bucket with a sealing lid or a large plastic bin with a tight lid works well. Keep the container in a dry spot like a garage shelf or shed away from temperature extremes.
A few storage notes:
- Label the container with the date and the recipe you used so you can repeat or adjust it later.
- If the mix gets damp in storage, spread it out to dry before re-bagging; damp storage invites mold or pests.
- Charcoal in the mix can help keep stored soil fresher, but it won’t stop bugs entirely–an airtight container is the best defense.
How long it keeps
- Properly stored, a dry homemade succulent mix will keep for many months without losing its drainage qualities. The primary risk is contamination (insects, mold) if the container is not sealed.
- If you store for more than a year, inspect the texture: organic particles break down and may reduce drainage. If the mix feels finer than when you made it, refresh with fresh perlite/pumice or make a new batch.
Practical storage workflow
- Mix a large batch and place the bulk into a sealed bucket or bin.
- Scoop smaller portions into sealed bags for immediate use; those smaller bags open less and stay dryer.
- If you stake plants or repot frequently, keep a small supply in a labeled smaller container for quick access.
Troubleshooting stored mix
- If you notice dust or fines settling on top, sift the batch before use to remove ultra-fine particles that reduce drainage.
- If pests are present, dispose of the affected batch. Do not attempt to salvage insect-infested soil for succulents.
Final practical checklist before potting
- Use pots with drainage holes.
- Fill about two-thirds with your mix, position the plant, and top up so roots are covered but crowns aren’t buried.
- After repotting, wait a few days before watering to let any damaged roots callus.
That’s the core of it: start with a loose, airy potting base and add coarse sand plus perlite or pumice to speed drying. Keep the 3:2:1 ratio in mind as a reliable starting point, and adjust toward grittier blends if your pots stay wet too long.