Are you asking yourself how to repot succulents?
Here’s a short, simple, and thorough guide on how to repot succulents in the right way. You can often harm your succulents or cactus if you don’t know how to repot those safely.
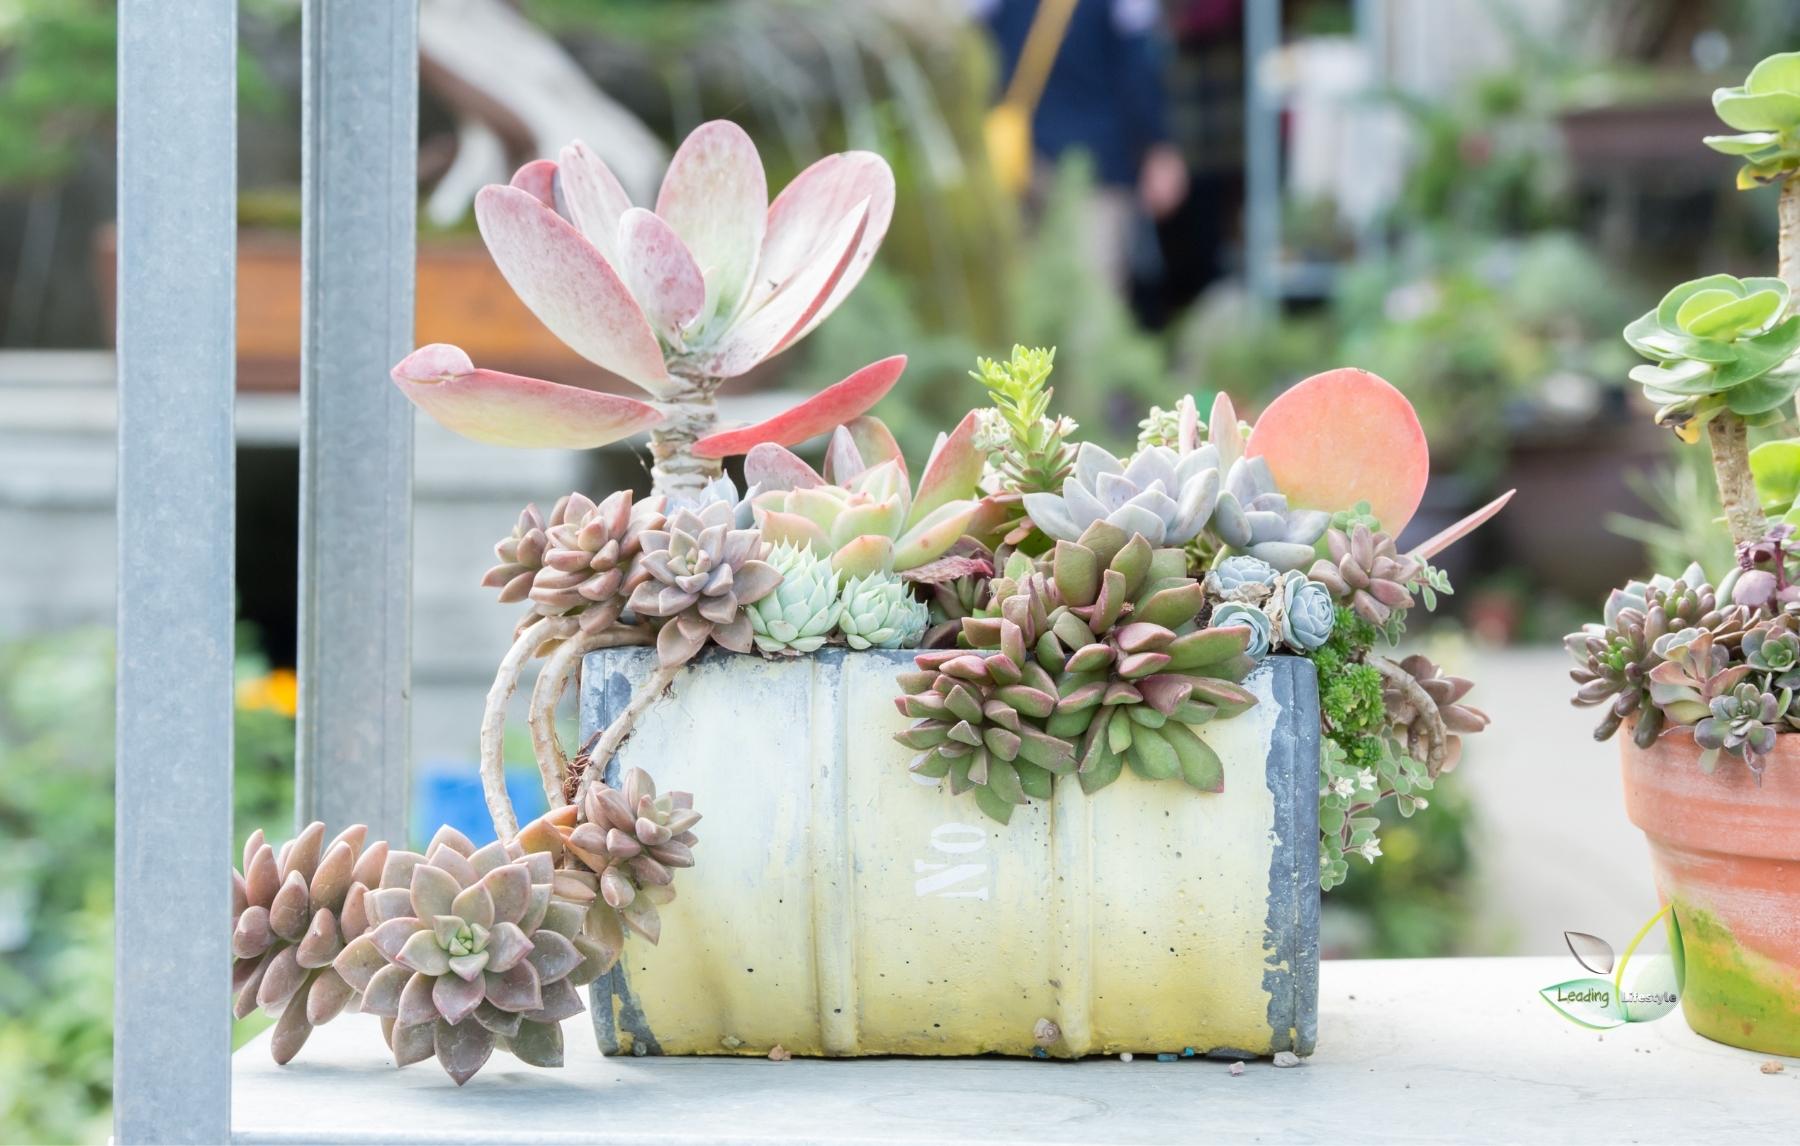
If you’re an expert gardener or new to plant-care, succulents and cacti are a great plant choice. These plants are lovely and unique. Plus, they’re easy to take care of and difficult to kill. When it comes to taking care of your cacti and succulents, the basics are simple: don’t water too much and make sure they have some sunshine.
However, you might also need to learn how to repot a cactus or a succulent. After all, these plants don’t want to spend their whole life in one container. They need space to grow up. That’s where learning how to repot a cactus comes in handy.
When & Why Should You Repot and Replant Your Succulents?
To begin with, you should know the right time to repot your succulents. Succulents are usually placed in small and tight pots; they will eventually grow out of their pot and require a larger pot to develop better. There are a couple of signals that will let you know:
- The roots are too close, and sometimes they may stick out of the potholes for more room.
- Water does not soak into the entire pot, or the soil drains too quickly after watering (a few hours).
- The plant looks unhealthful (given adequate lighting and water).
- The plant is toppling over the pot.
Newly Purchased Plants
Succulents from nurseries and plant stores typically come in soil mixtures that lean toward more organic matter content.
These plants need a gritty potting mix that helps drain and breathe the roots, so it is essential to change the soil.
Repotting may add to the stress that the plant is already experiencing after being transported from the store, but it is safer to continue with this than to allow the plant to adapt and put it under stress again.
It will also allow you to search for signs of pests and diseases and assess the plant’s physical condition.
Overcrowding and Being Root-bound
After a year or two, healthy succulents, particularly mat-forming species such as Sedum and Crassula, will overgrow their pots. This will appeal to dense, bushy growth, but it will later lead to low growth as the plant uses its nutrients and space.
While not all succulents develop an obtrusive root system, they will grow more fully and cause the plant to become root-bound, where the roots almost fill the pot’s space, limiting the plant’s growth.
Repotting would provide more space for plants to flourish and more nutrients from the fresh soil. It will also encourage you to propagate and make new plants from the overgrowth of your succulent.
Compacted Soil and Poor Drainage
Water makes the soil clumsy together and over time. The soil in the pot becomes too compact, and the percolation rate is too sluggish.
Mostly, the water remains on top of the soil without the root system is wet. This can lead to dehydration and rotting of the stem, and the way to reduce it is to aerate the soil or fully substitute the soil.
Some pots may also have tiny drainage holes that can easily be clogged with soil particles and pebbles from the soil mixture. Poor drainage allows the soil to become too moist, resulting in root rot, so repotting helps give the plant better drainage.
Unhealthy-looking Plants
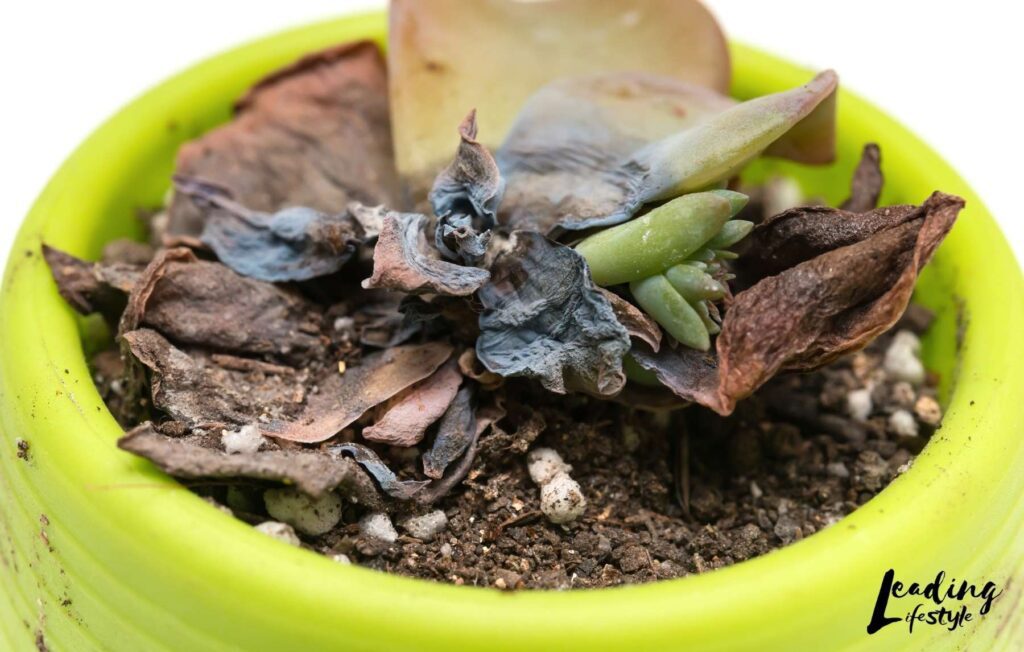
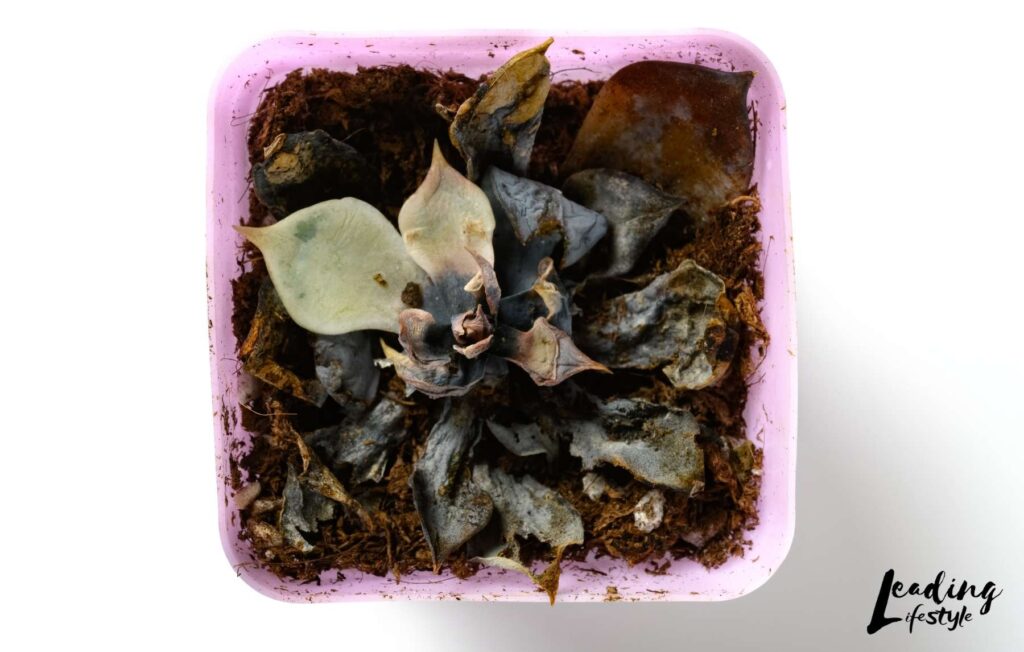
Often your plant may look sad, display signs of yellowing, wilting, and falling leaves, and you’re not sure what the problem is. It may be due to succulent pests and disease, lack of nutrients, etc., but if you don’t see any signs of this in the upper part of your succulent, most of the time, it has more to do with roots and soil.
The plants repotting will help you closely track the roots and get rid of the soil’s problems. The benefit of repotting is identifying diseases such as root rot which are invisible at the onset of their occurrence.
Damaged Pots
Pots add charm to indoor plants, particularly decorative ones. If mechanical factors or the plant weakens, the pot is root-bound, repotting should be done. This will protect the soil and roots from falling apart and make the setup more esthetically attractive.
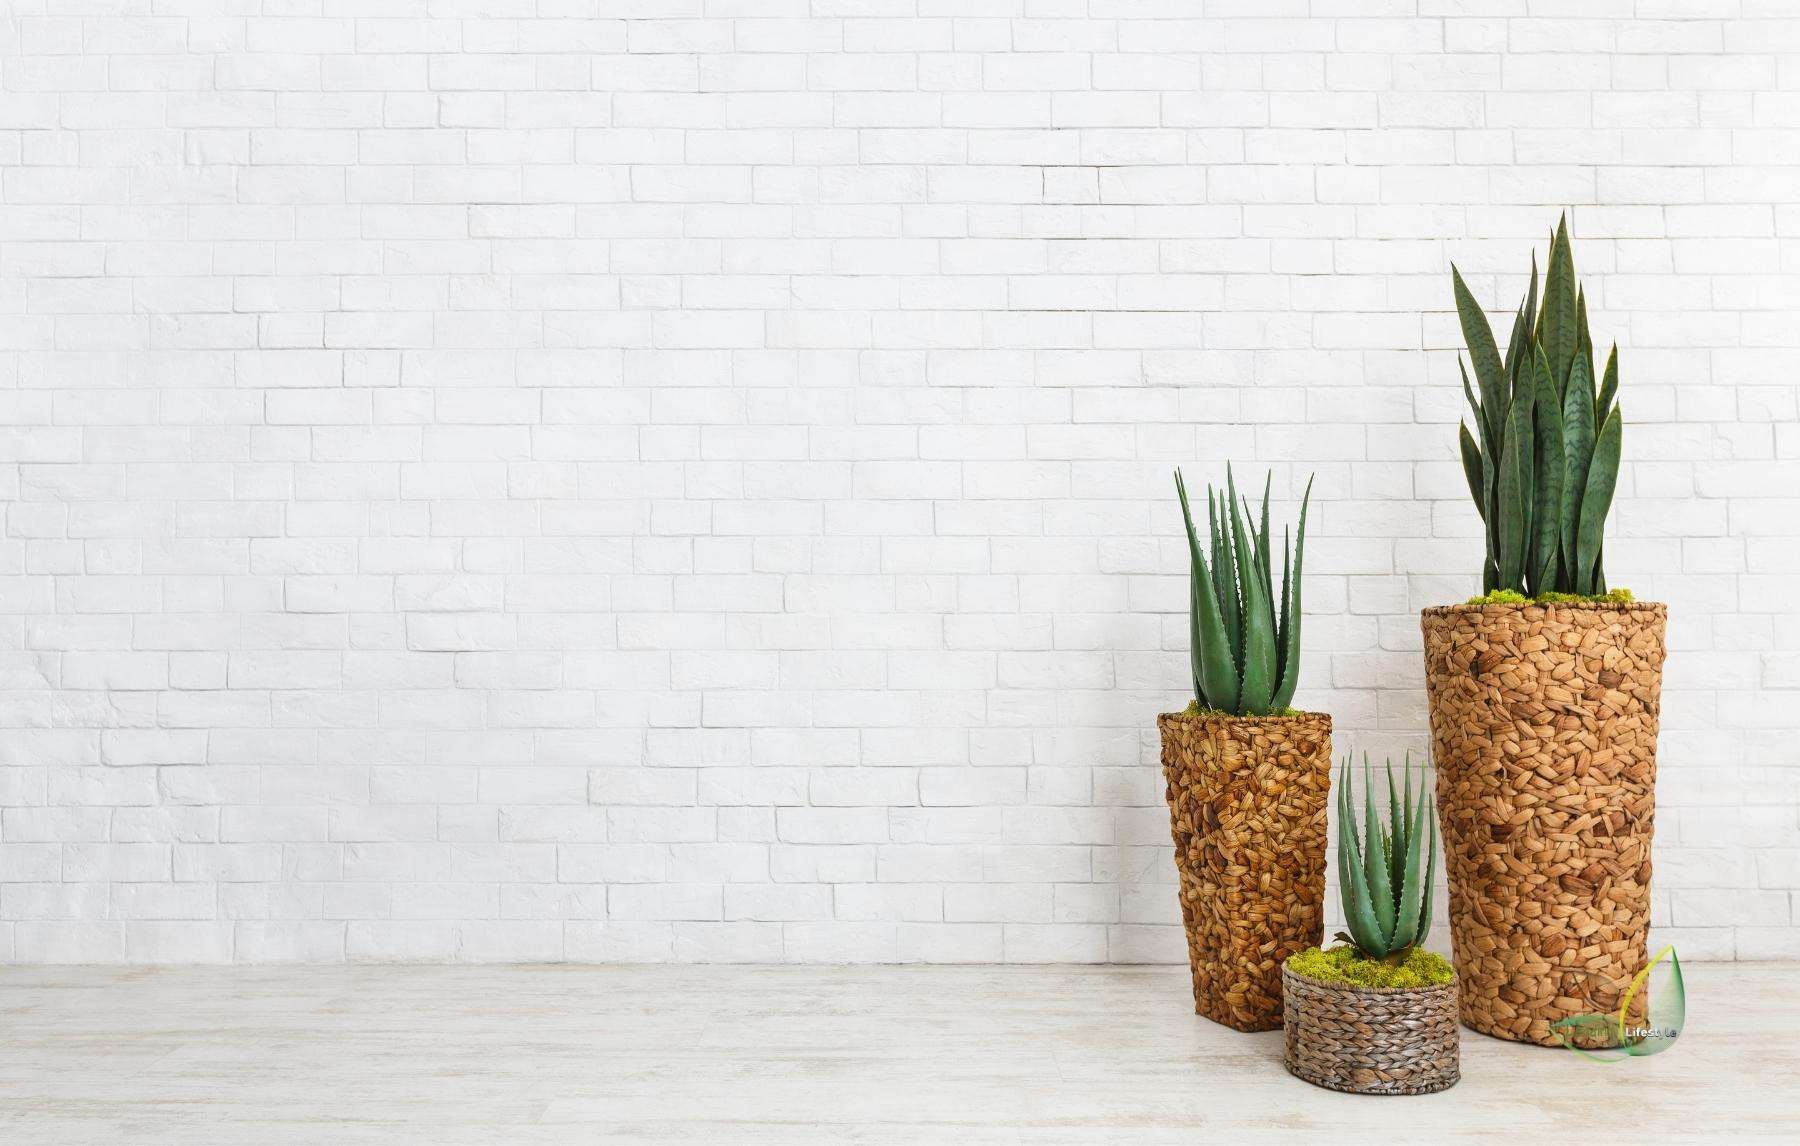
Another advantage of repotting succulents: these porous pots help dry out the soil and avoid root rot. They are available in a variety of sizes and can be purchased at any hardware or gardening store.
So how do you pick a pot that keeps your succulent alive, blooming, and spreading? Here is How to Pick Best Pots for Succulents.

What Do You Need to Repot?
Having the right soil type is the first essential ingredient to learn how to transplant succulents.
The potting mixture for repotting succulents should be 70 to 80 percent of mineral content and 20 to 30 percent of organic material. It should be gritty to imitate the plants’ natural growing medium but porous enough to retain the roots and provide enough moisture.
Mineral materials include rough sand, perlite, fine gravel, and volcanic rock. Organic materials may be a combination of soil and some coconut coir, pine bark, or compost.
The plant can also benefit from using slow-release fertilizer in the mix to supply the plant with crucial nutrients gradually.
Succulents require different soils from other plants in order to actually grow. Using the wrong soil type, you’re going to find yourself solving problems with care endlessly.
But don’t panic!
This thorough guide explains all the succulent soil you’ve ever wondered about.
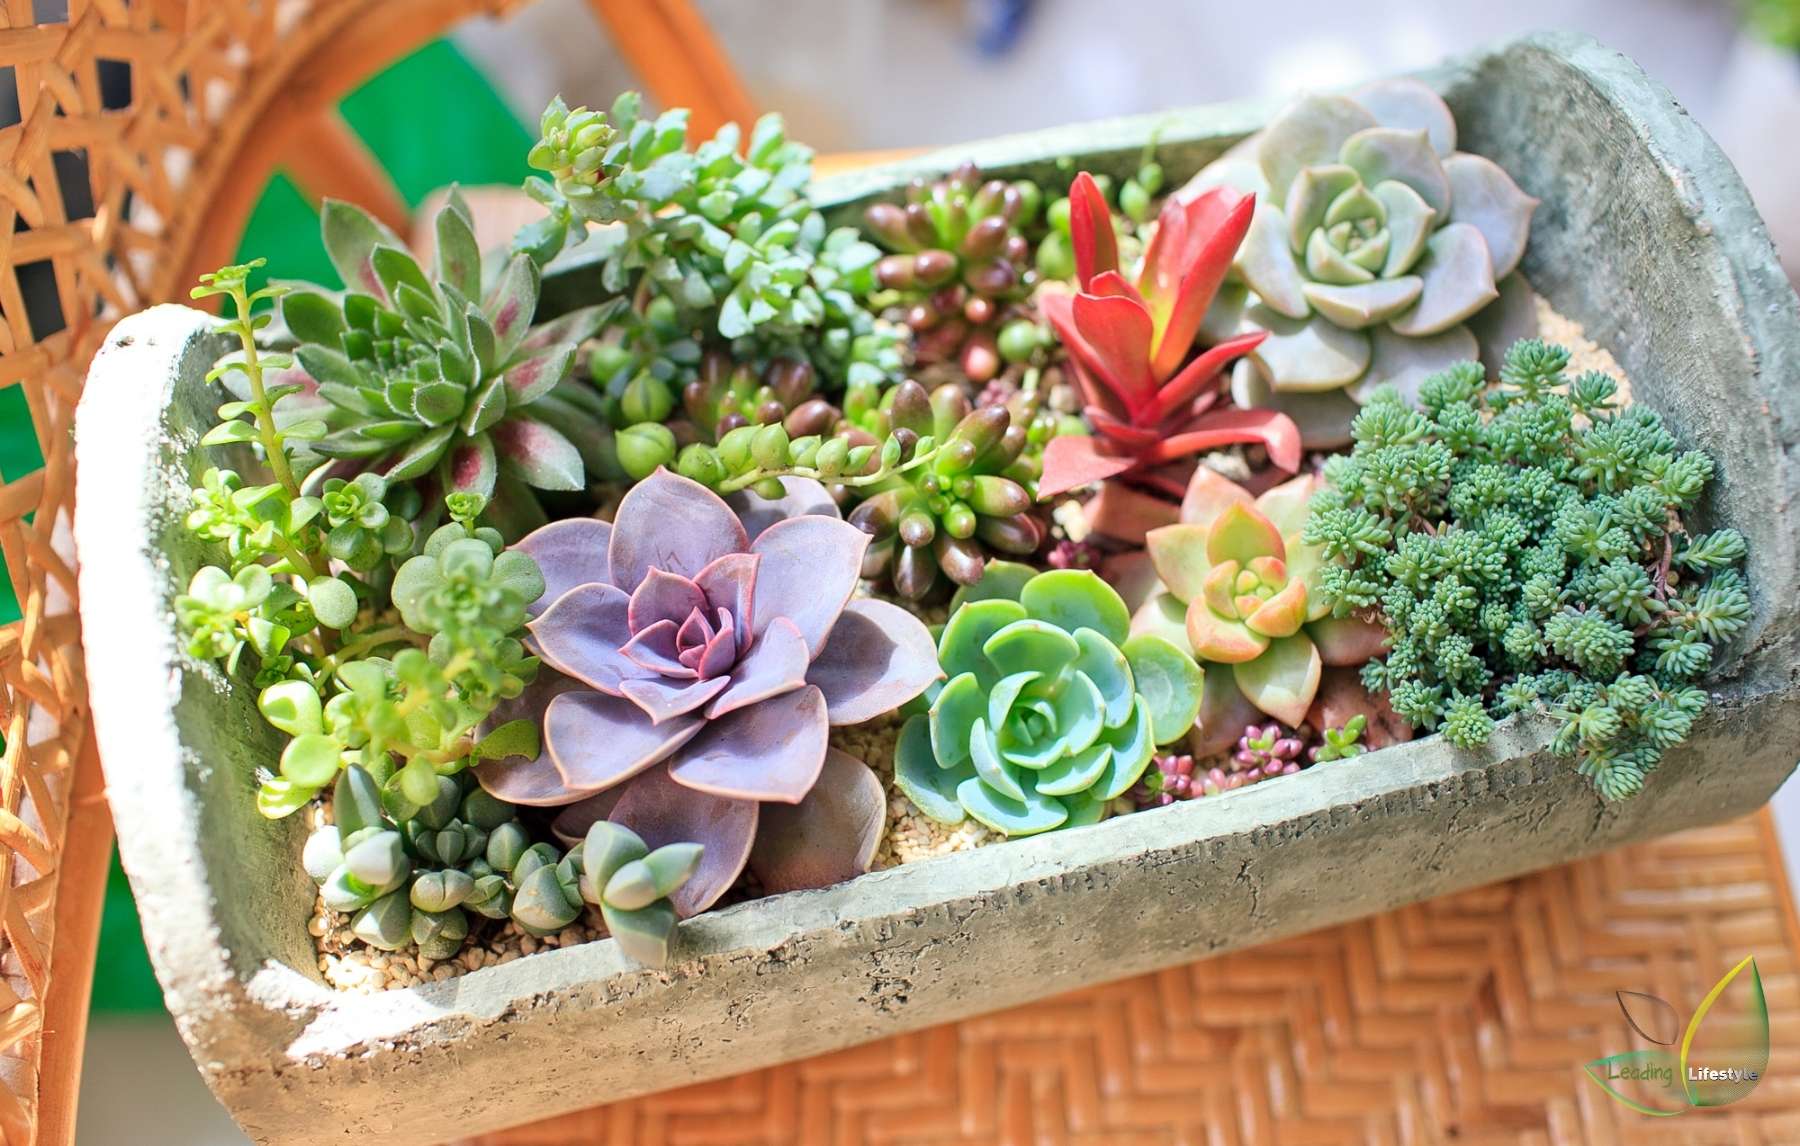
Your container or pot should be larger than the previous one to provide enough space for development.
Decorative or straightforward, it should be strong enough to carry the plant and the soil, light enough to keep moving and rotating, and have enough holes at the bottom to allow proper drainage.
Pots are made of various materials such as plastic, terra cotta, ceramic, concrete, etc. You can choose based on preference, but it also helps to know that these containers differ in longevity, water retention, and heat dissipation.
Read this to know about good succulents pot.
Mulch Material
Top-dressing the succulent with a pebble mulch regulates the soil moisture and prevents the plant’s upper half from touching the soil needlessly.
Like cacti, succulents can quickly rot when there is too much water, so this protective layer helps keep the stem and leaves dry.
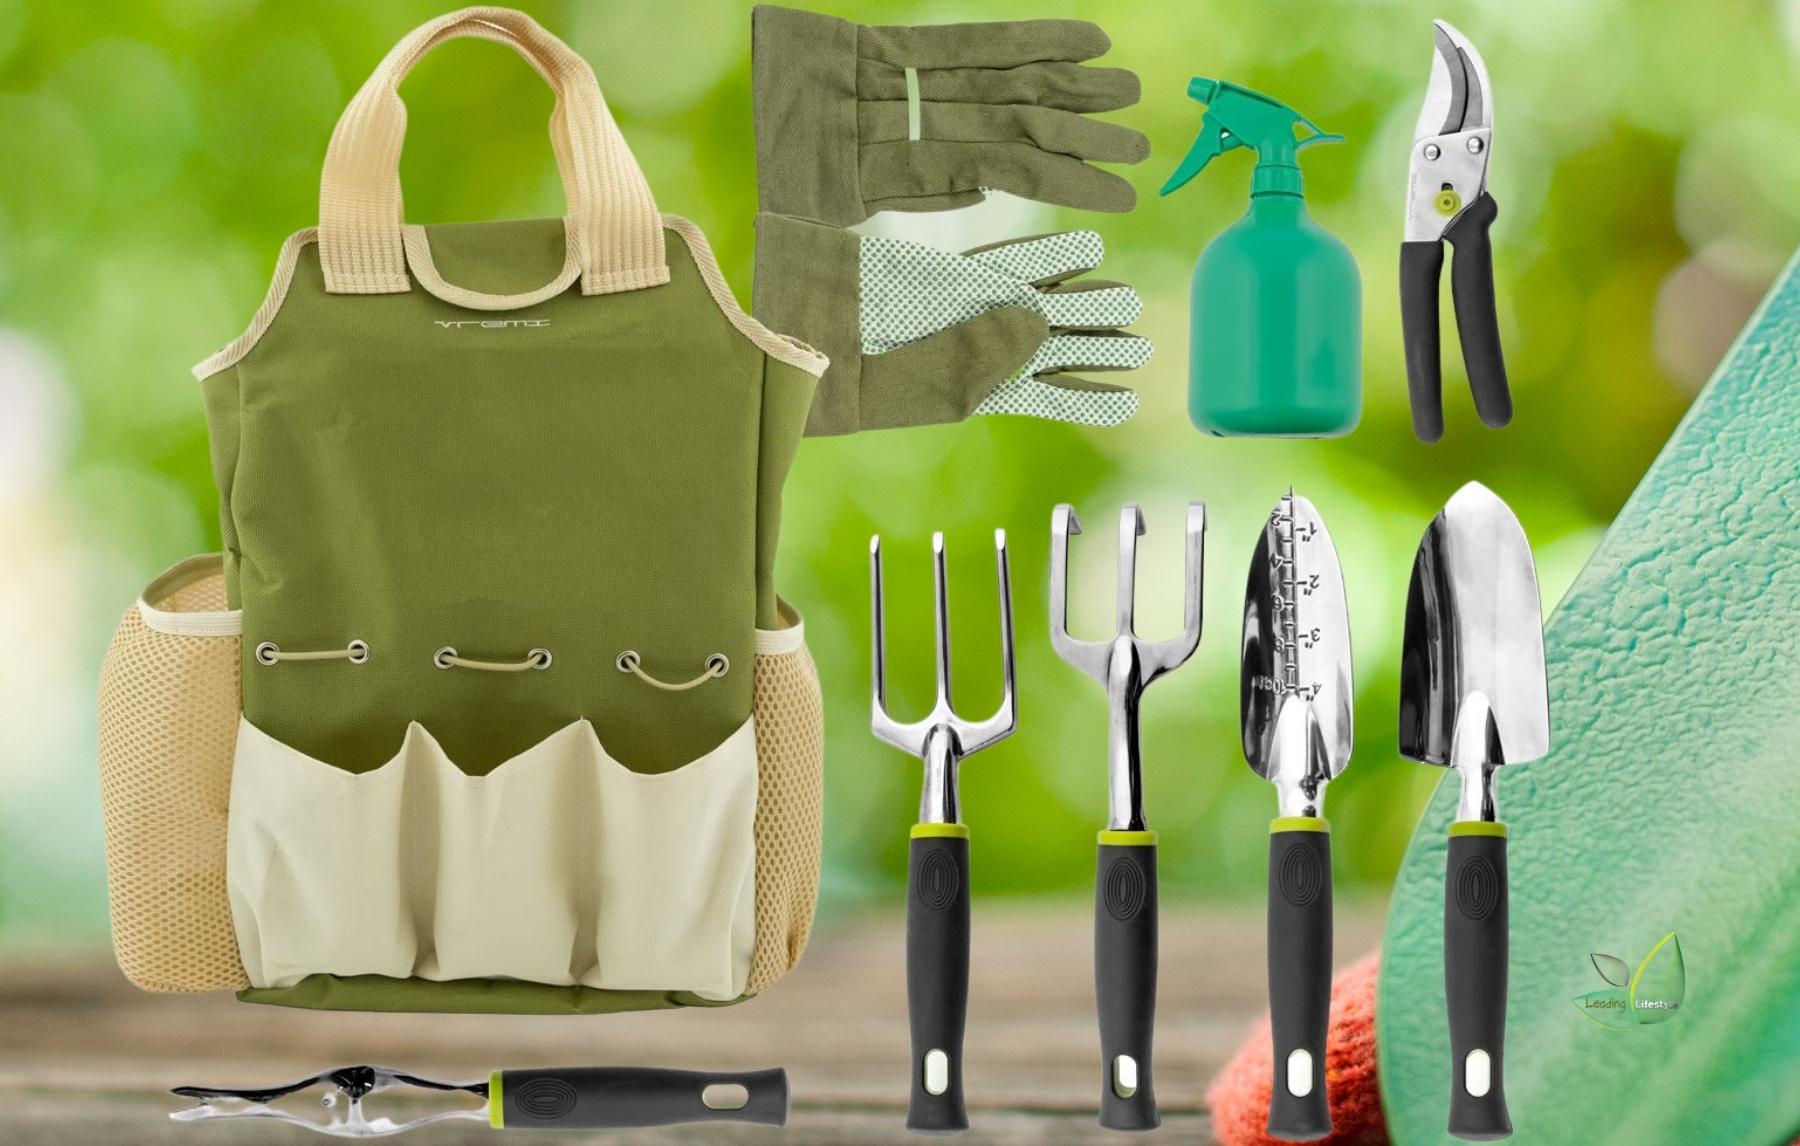
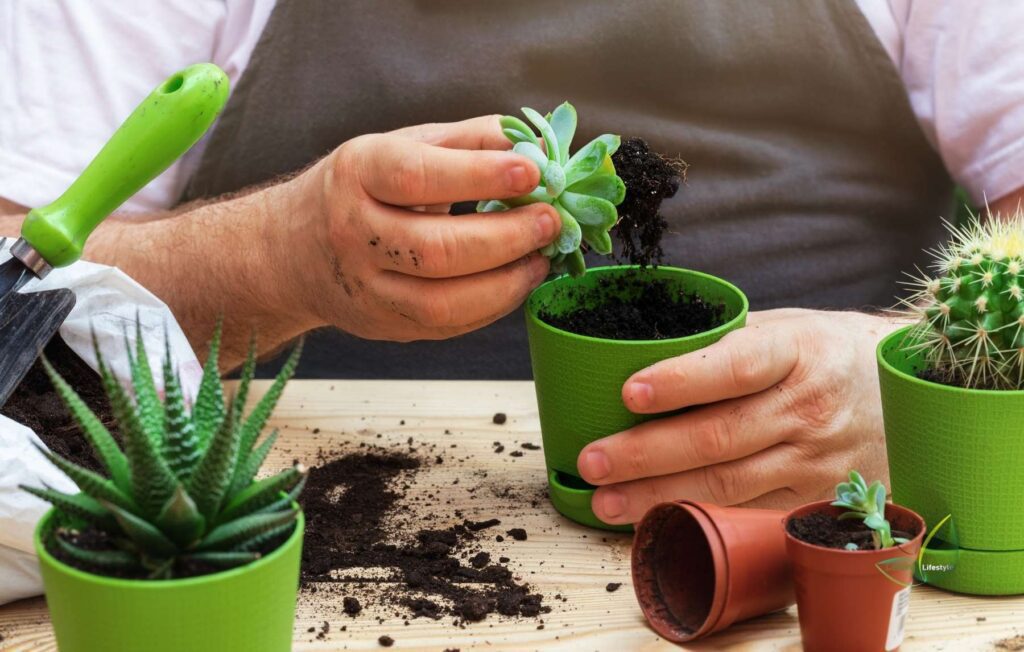
It would help if you used proper planting tools to move and replant your succulents. You’ll need a small shovel to scoop soil mixture and pebbles into the pot, a two-pronged fork to raise the plant without damaging it, and scissors to help prune unwanted leaves, stems, and roots.
You will also need gloves to shield your hands from sap, mud, and manure, bubble wrap or old paper to help handle spiny plants, a plastic cover or tarp to protect your surface from repotting, and a small piece of mesh to place at the bottom of your pot to keep the soil from falling out of the drainage holes.
Finding the right garden tools for your needs is simpler than you would think. It provides comfort since you don’t need to buy each toe separately, which keeps everything organized together.
With this in mind, it doesn’t matter if you’re a seasoned green finger or someone who’s just beginning their fun and soothing gardening journey; you can find the best gardening tool sets for you.
Step-By-Step Guide to Repot Your Succulents
Follow these simple steps to repot your succulents and keep them lasting properly.
Step 1.
Water plant 2-3 days before repotting. This will render the soil moist enough to quickly remove the plant from the old pot and, at the same time, provide the plant with a sufficient moisture reserve before the next watering.
Step 2.
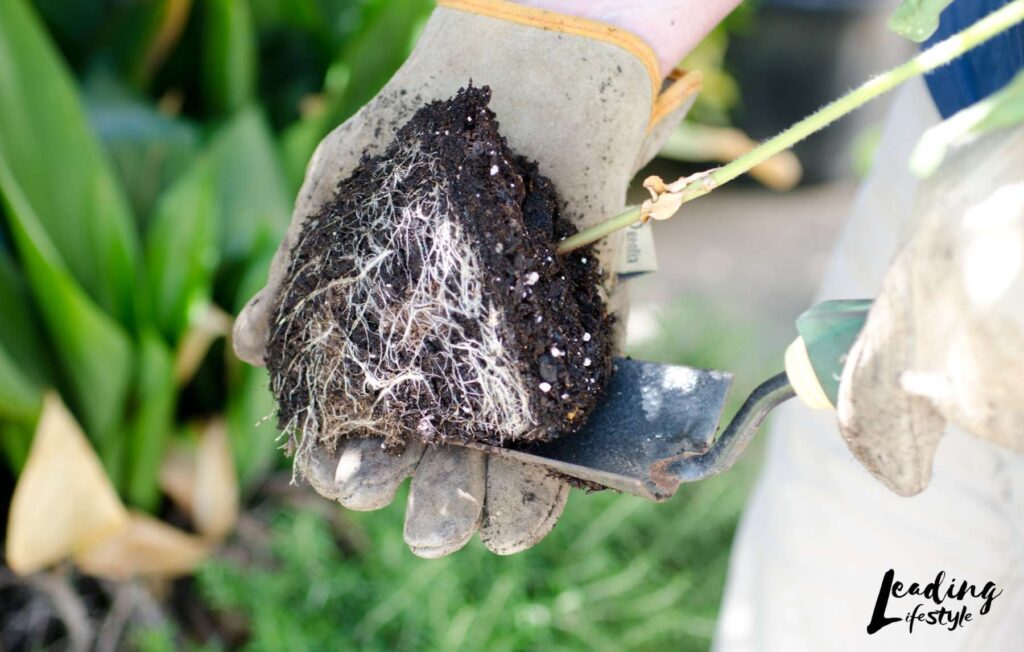
Cover your working surface to shield it from dirt and clean it quickly. Wearing gloves, expose the roots by removing the surrounding soil, mainly when the plant is fresh. During this time, check the root system for any decay and rodents, and use a sterilized pair of scissors to remove brown roots. Handle or cover your plants in a newspaper with a fork to prevent harm to the plant and prevent potential irritants from occurring in your hands. Many succulents like Sedum morganianum have delicate leaves that can easily fall off, so be careful of that.
Step 3.
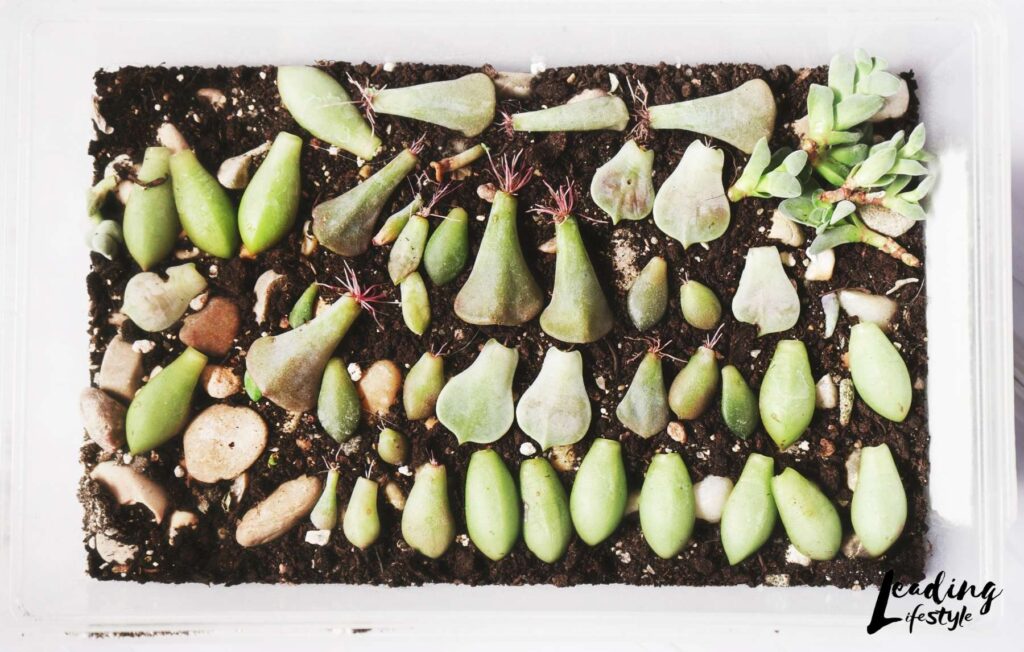
Remove the dry leaves and stalks for disposal. If your succulent has produced enough seedlings, now is the best time to divide and spread. Carefully extract these pups by making clean cuts to the mother plant and plant them separately.
Step 4.
Use a pot that is wider than the body of your succulent. A diameter that doubles the size of the root system would provide more space for expansion. Check if the pot has enough drainage holes and place a piece of mesh on the bottom to prevent the soil from dropping through the hole.
Step 5.
Depending on the depth of the pot, pour the potting mixture 2 to 3 cm thick. Holding your succulent in one hand, carefully place it in the center of the pot and gently pour more mixture around the plant. Pat the soil around the stem and poke the fork to ensure no large air pockets. Add more soil until the roots are exposed, but do not fill the rim.
Step 6.
Spray water on the soil and top-dress with pebbles. Place the plant in a well-ventilated, sunny position and then, after 2 to 3 days, water the succulent thoroughly. Allow the plant to adapt to its new container before handling it as though it were your old succulents.
Put the plant in a new dry soil pot for a few days to allow the plant to recover before watering. You should not give it much water at this time, as the root system is still fragile.
Final Steps
Put the plant in a new dry soil pot for a few days to allow the plant to recover before watering. You should not give it much water at this time, as the root system is still fragile.

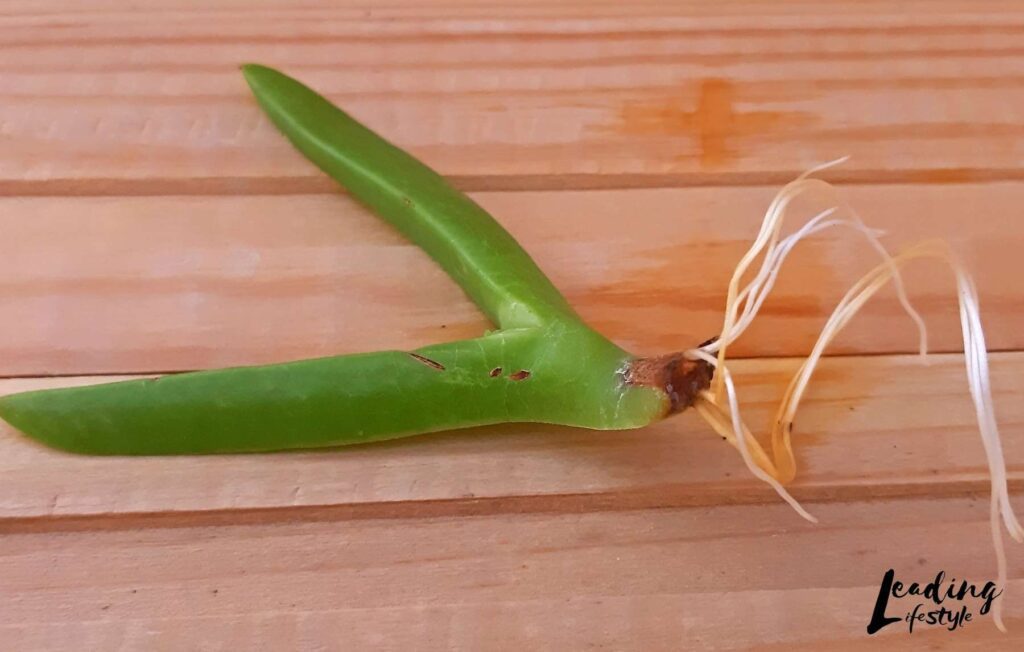
Broken leaves when you repot a cactus aren’t dead! Can propagate them into new plants.
Move your cactus or succulent to a sunny spot, but avoid direct sunlight. There are many types of succulents, and some require more sunlight than others. Watch your plant and see how it responds to the light.
If it looks brown and wilted, it might get too much sunshine. If it leans toward the sun, it could mean that it doesn’t get enough direct light. At the end of the day, you need to play with the position before finding a place in your home where the cactus or succulent thrives.
If settled in its spot, water periodically, and admire your plant, you’ll be able to enjoy a stress-free plant for many years to come before you need to think about how to repot succulents and how to repot the cactus again.
Your succulent now has sufficient space for the root system. As it transitions to the new pot, the leaves and stem can grow stronger and stronger.
Frequently Asked Questions
Dormancy is the state of a plant when it is alive but not actively growing.
Begin by trying to turn the plant sideways and snatching the plant just at the stem’s base.
A trowel or small shovel.
It is necessary to keep in mind that if your succulent begins to flower, you should never repot it.
Fill your new planter 34% complete with pre-mixed succulent or cactus soil, which you can find at any local nursery or home maintenance store.
This is an excellent time to clean away any dead roots and knock off dead leaves near the plant’s base.
To stabilize the plant, dig a shallow hole in the new soil, place your succulent in it, and gently cover the roots with more potting soil.
Make sure the soil is dry before wetting it thoroughly but not drowning it.
Using a trowel or small shovel, break up the compacted soil and gently spread out the roots. Use it to take the succulent out of its current container.
To learn how to repot succulents, follow the simple step-by-step procedure outlined above: